Uniapp 开发示例
1、下载并安装HBuilderX
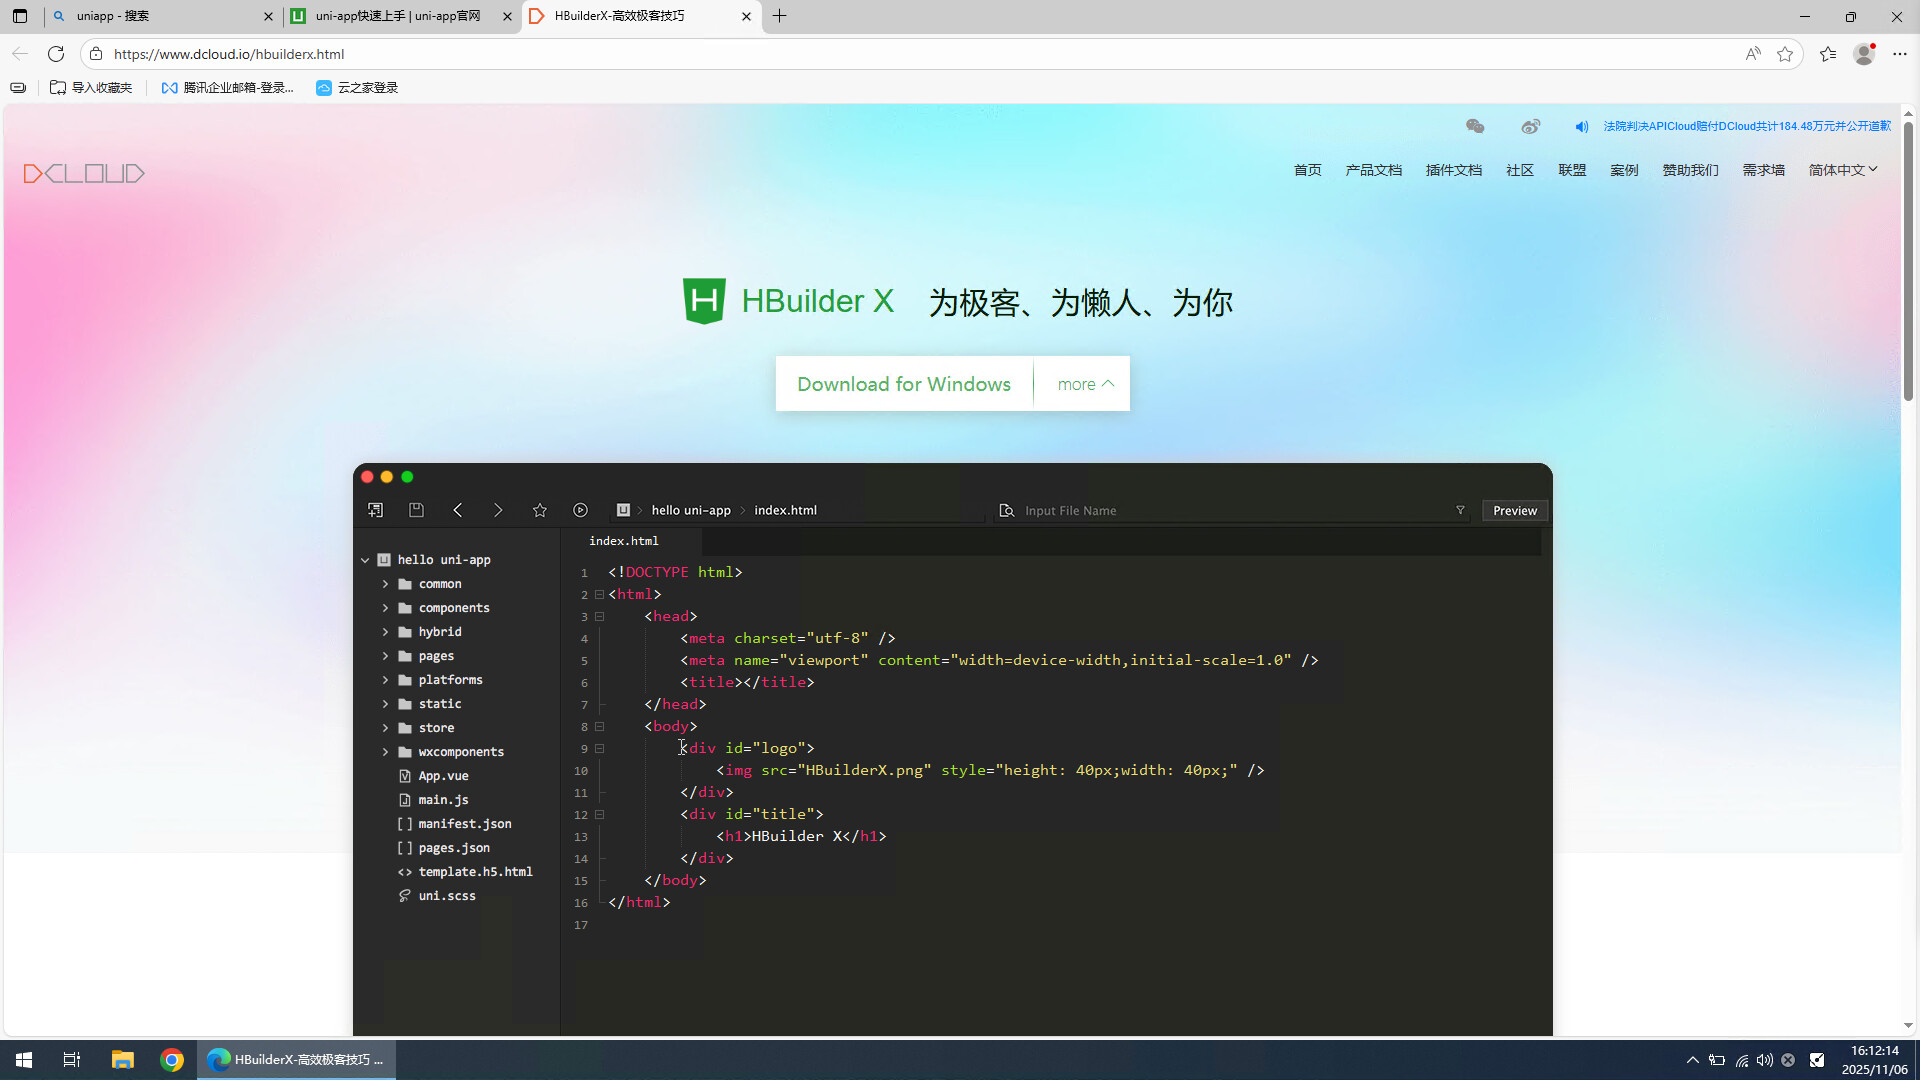
HBuilderX:官方IDE下载地址
从官网下载HBuilderX
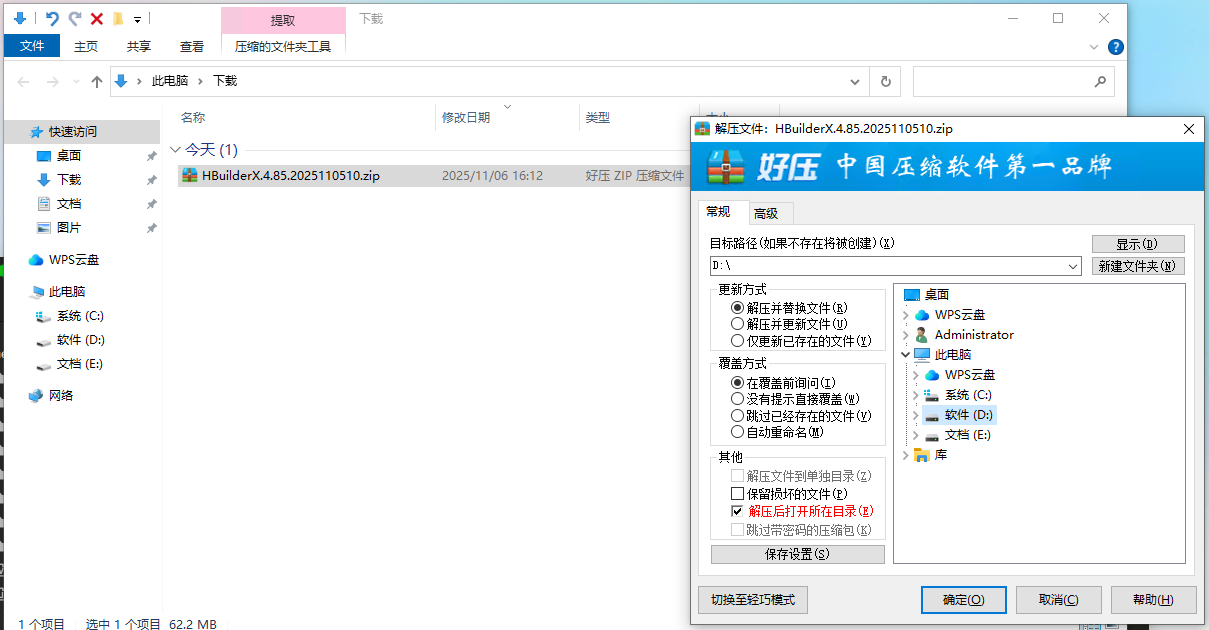
解压程序到D盘
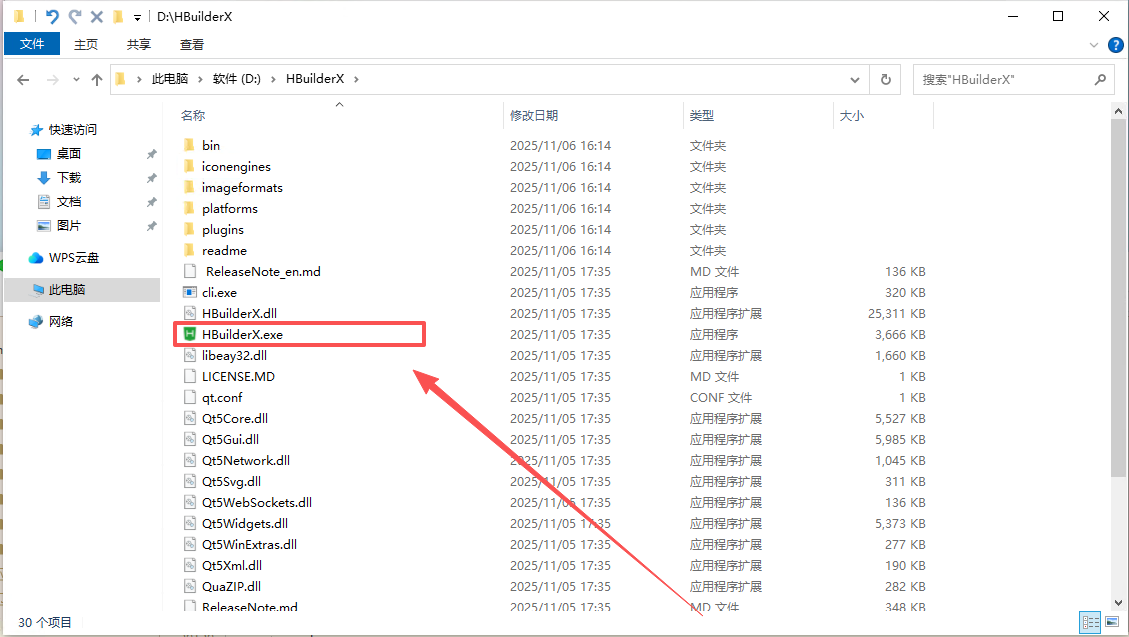
双击运行主程序
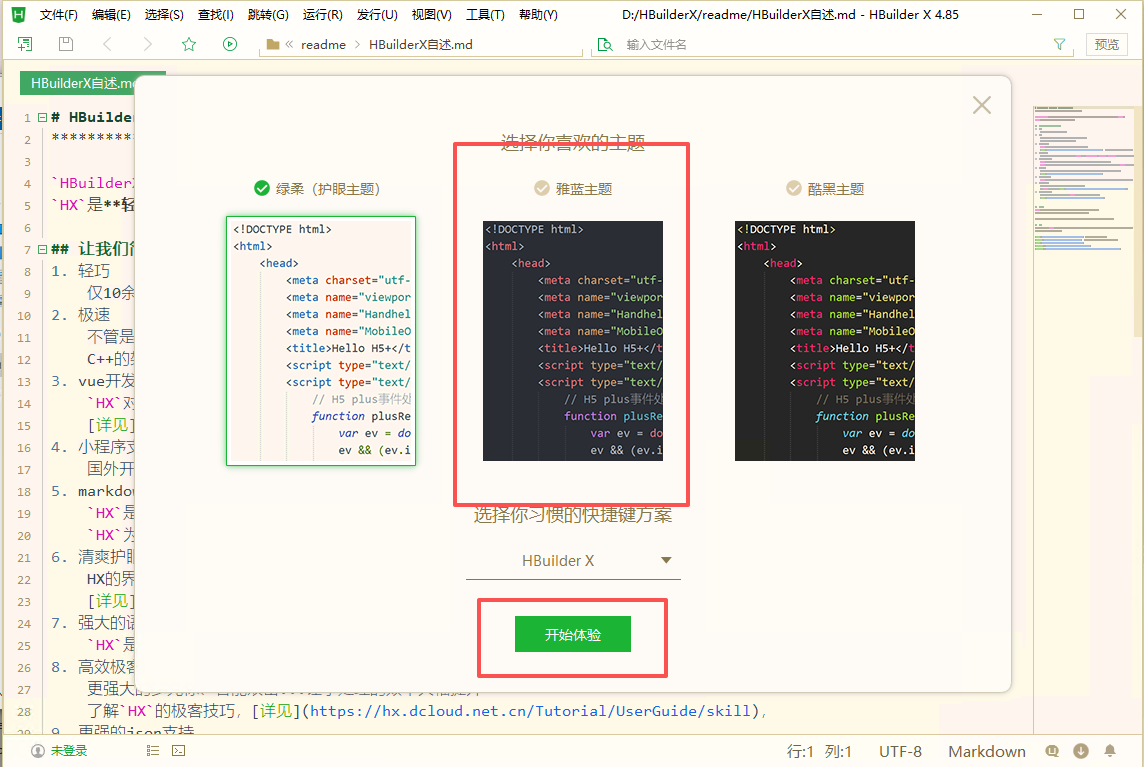
第一次启动选择默认主题
2、创建一个前端项目Demo
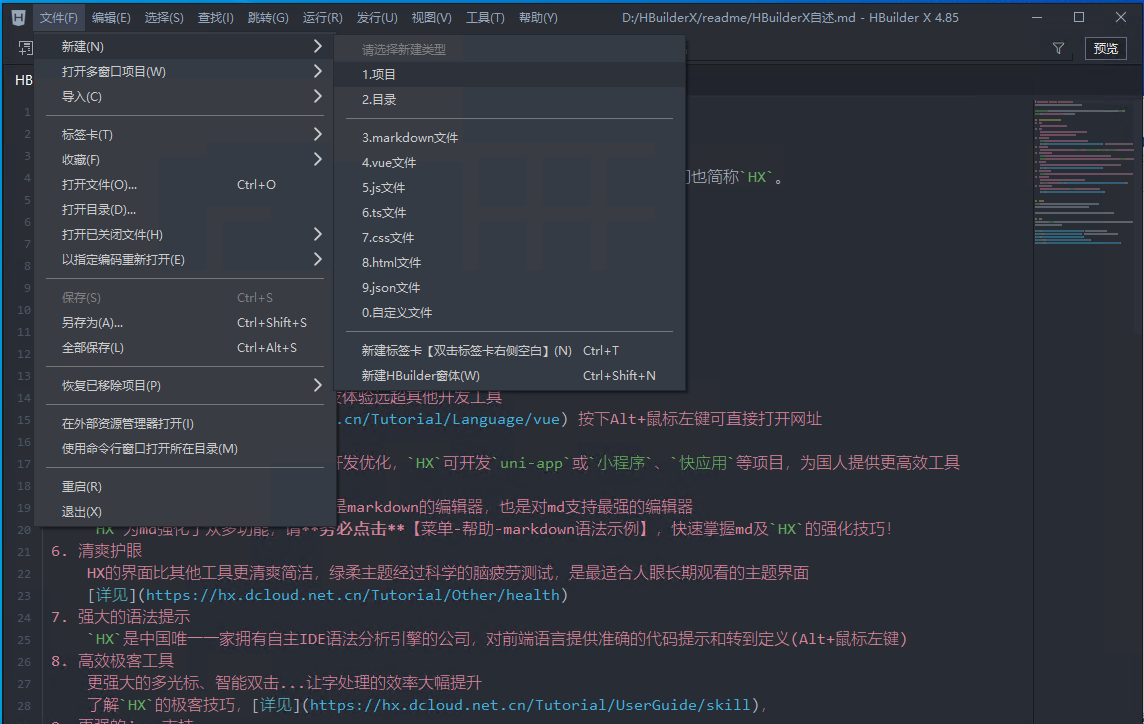
文件 - 新建 - 新建项目
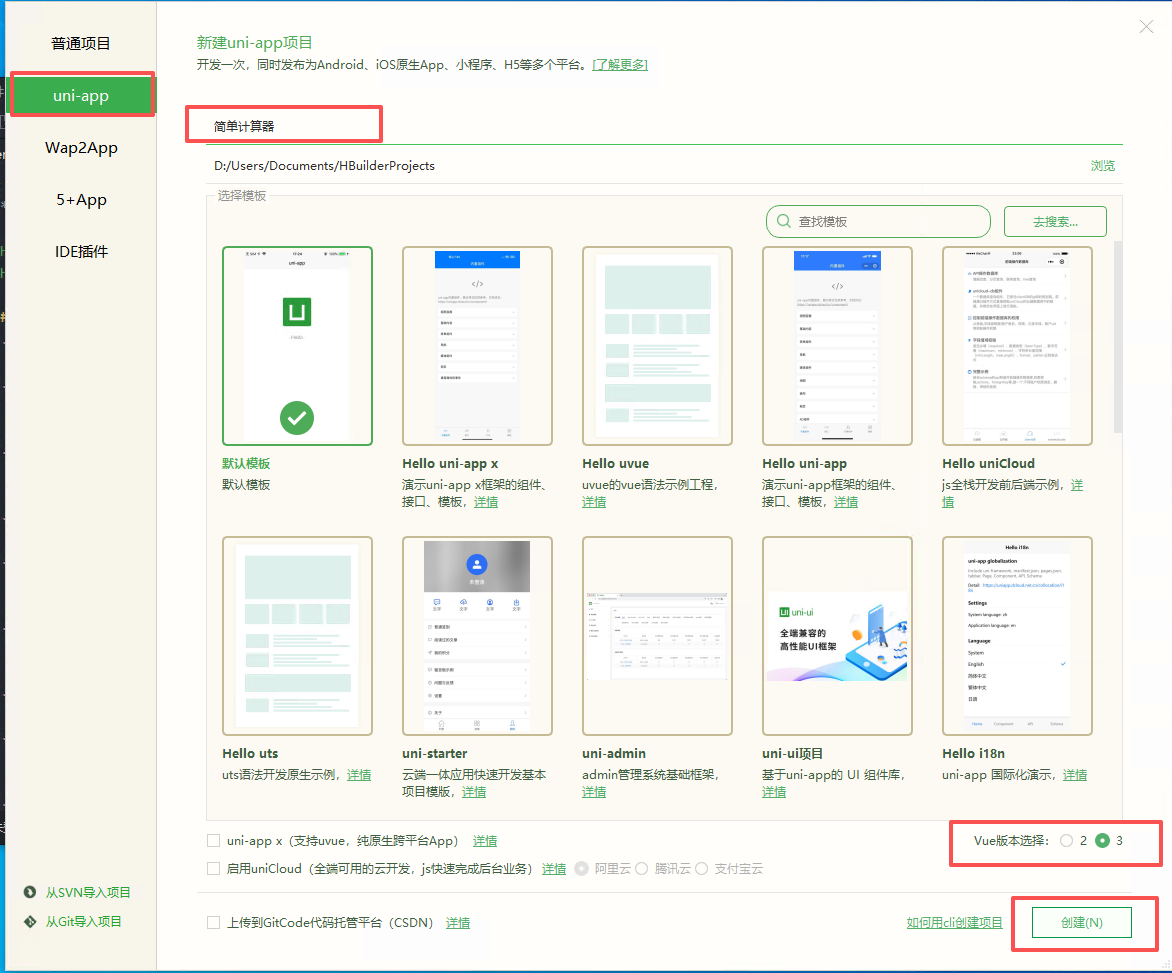
填写项目名称,创建uni-app项目
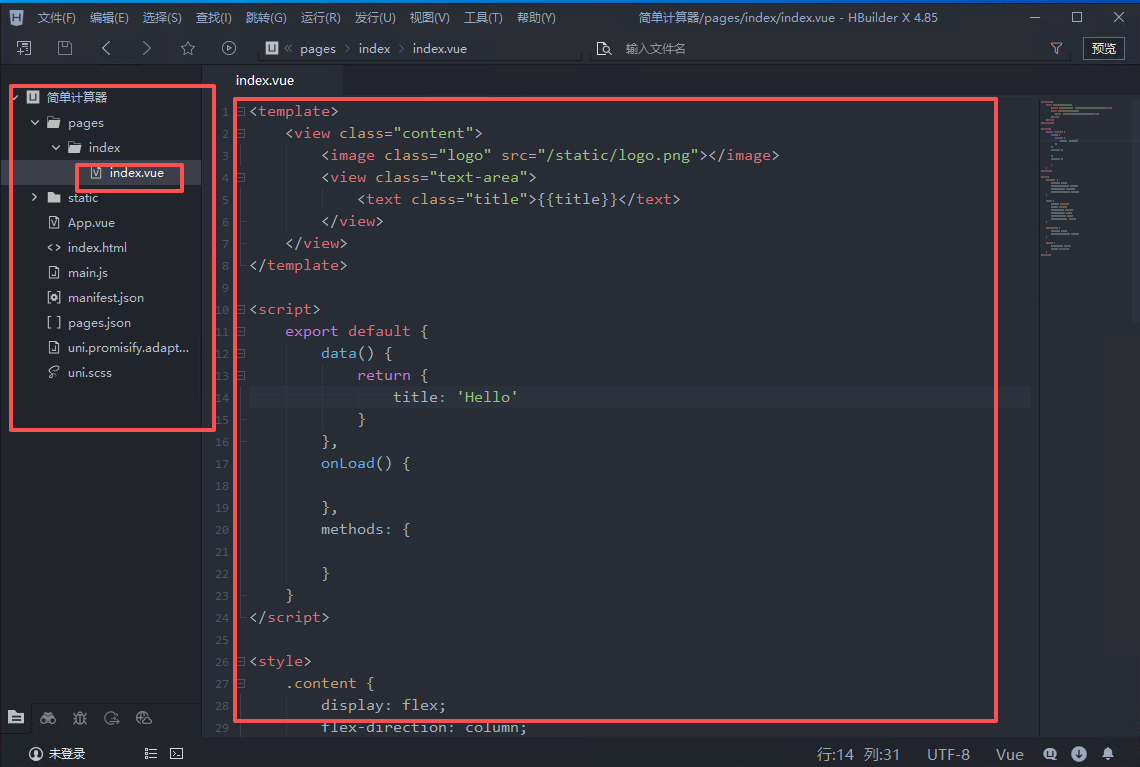
查看默认页面代码
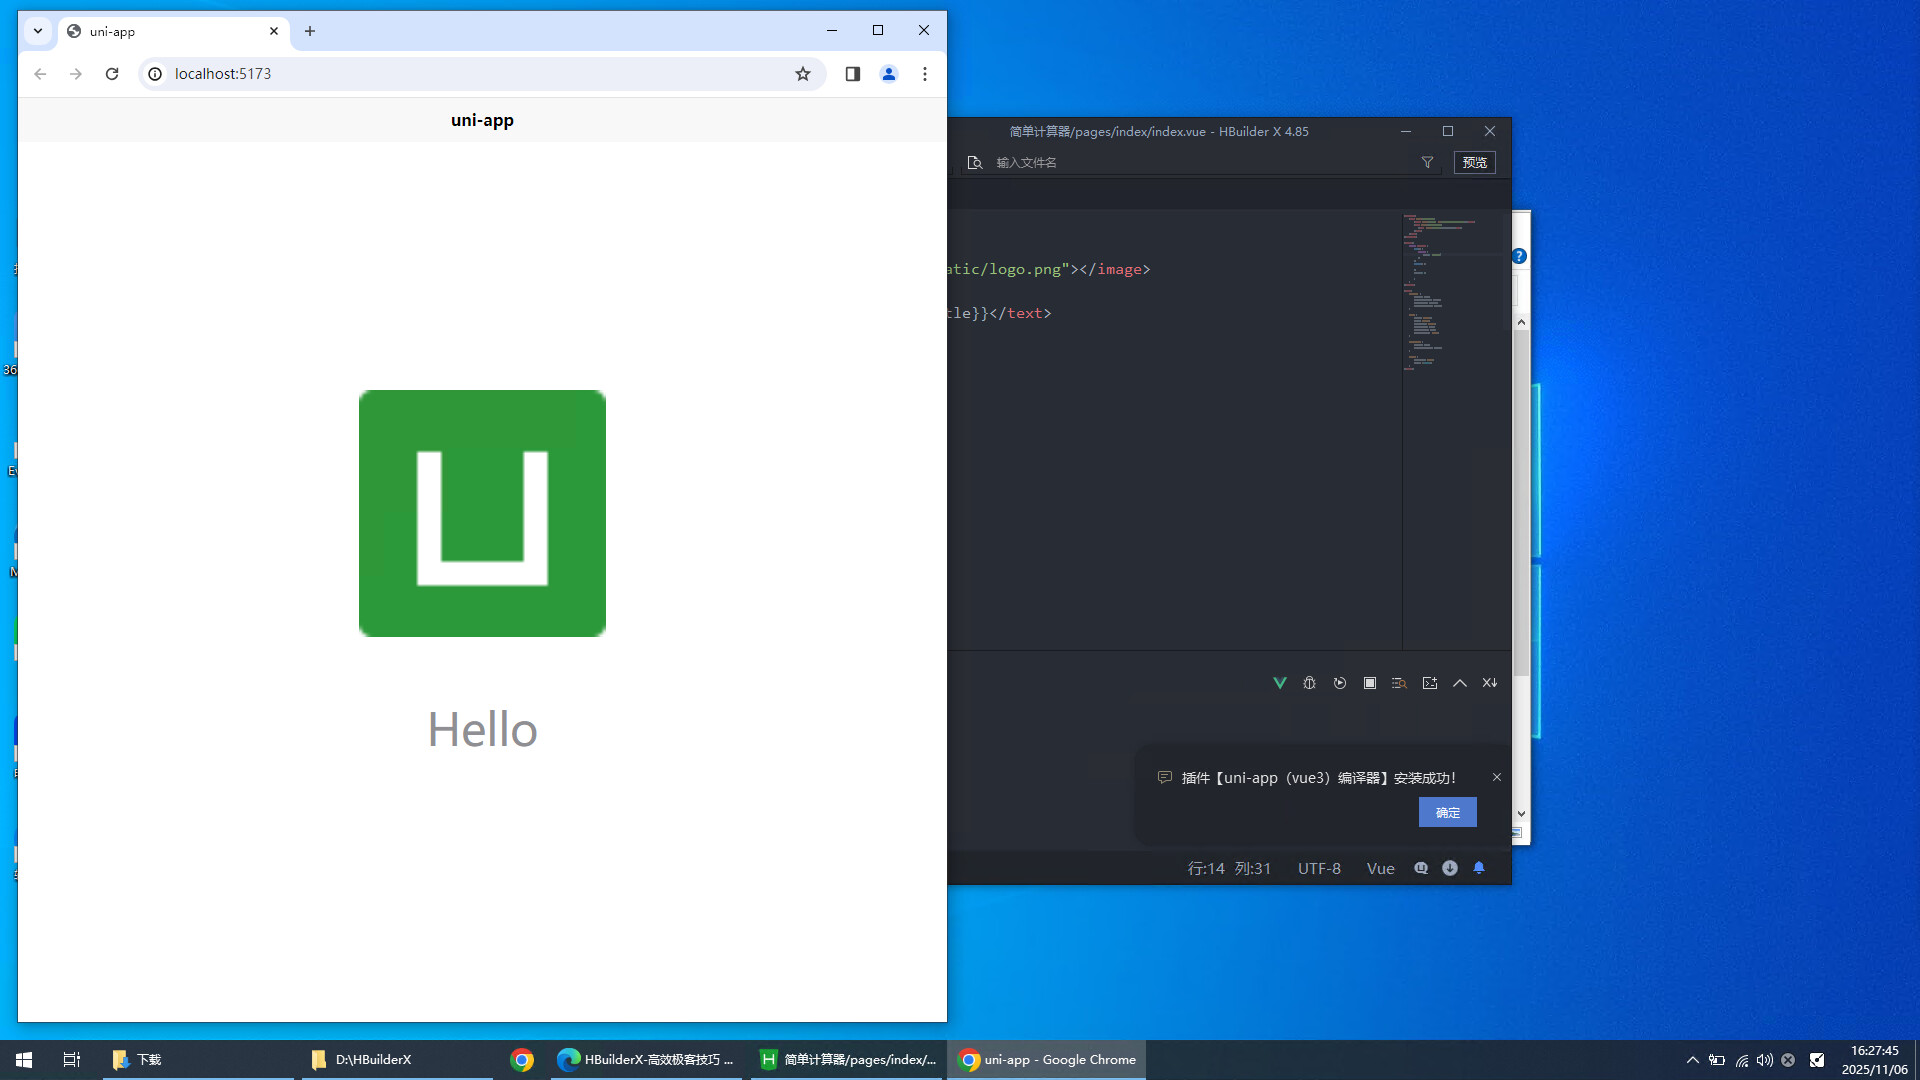
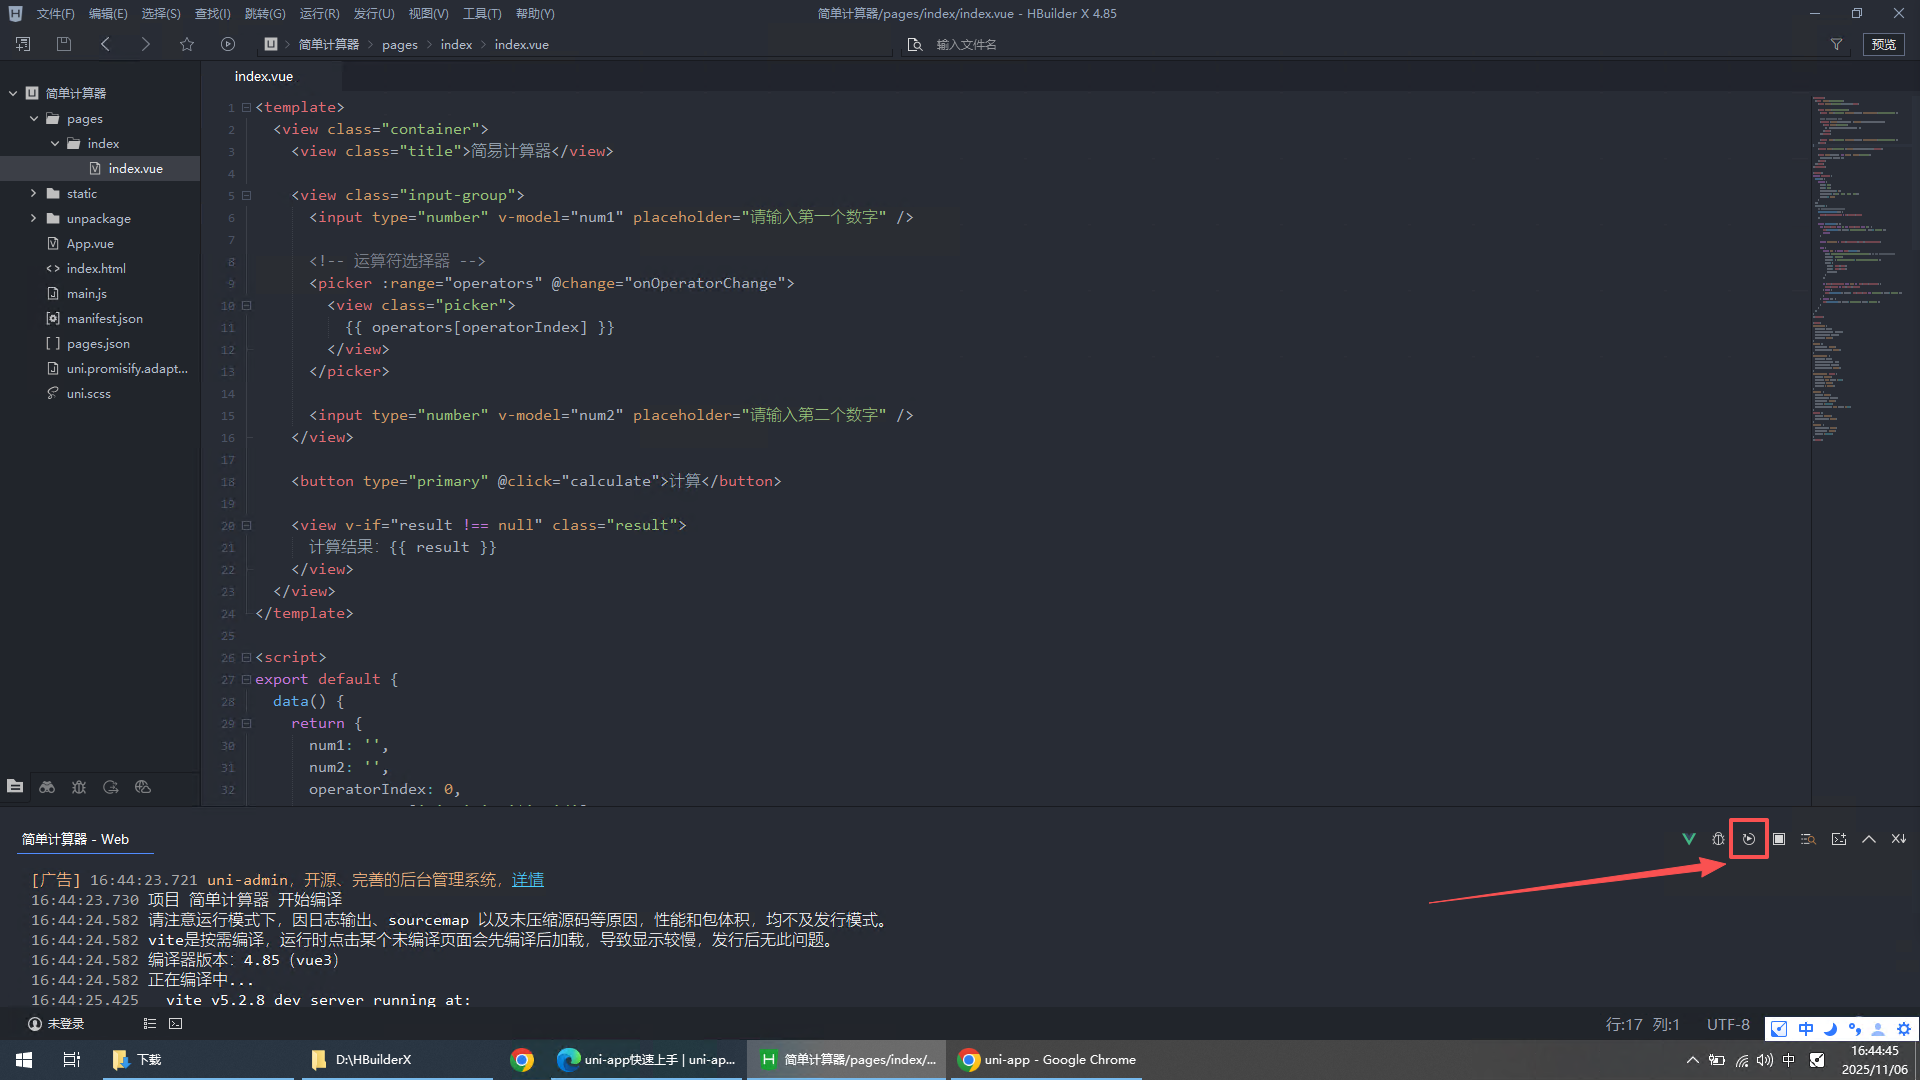
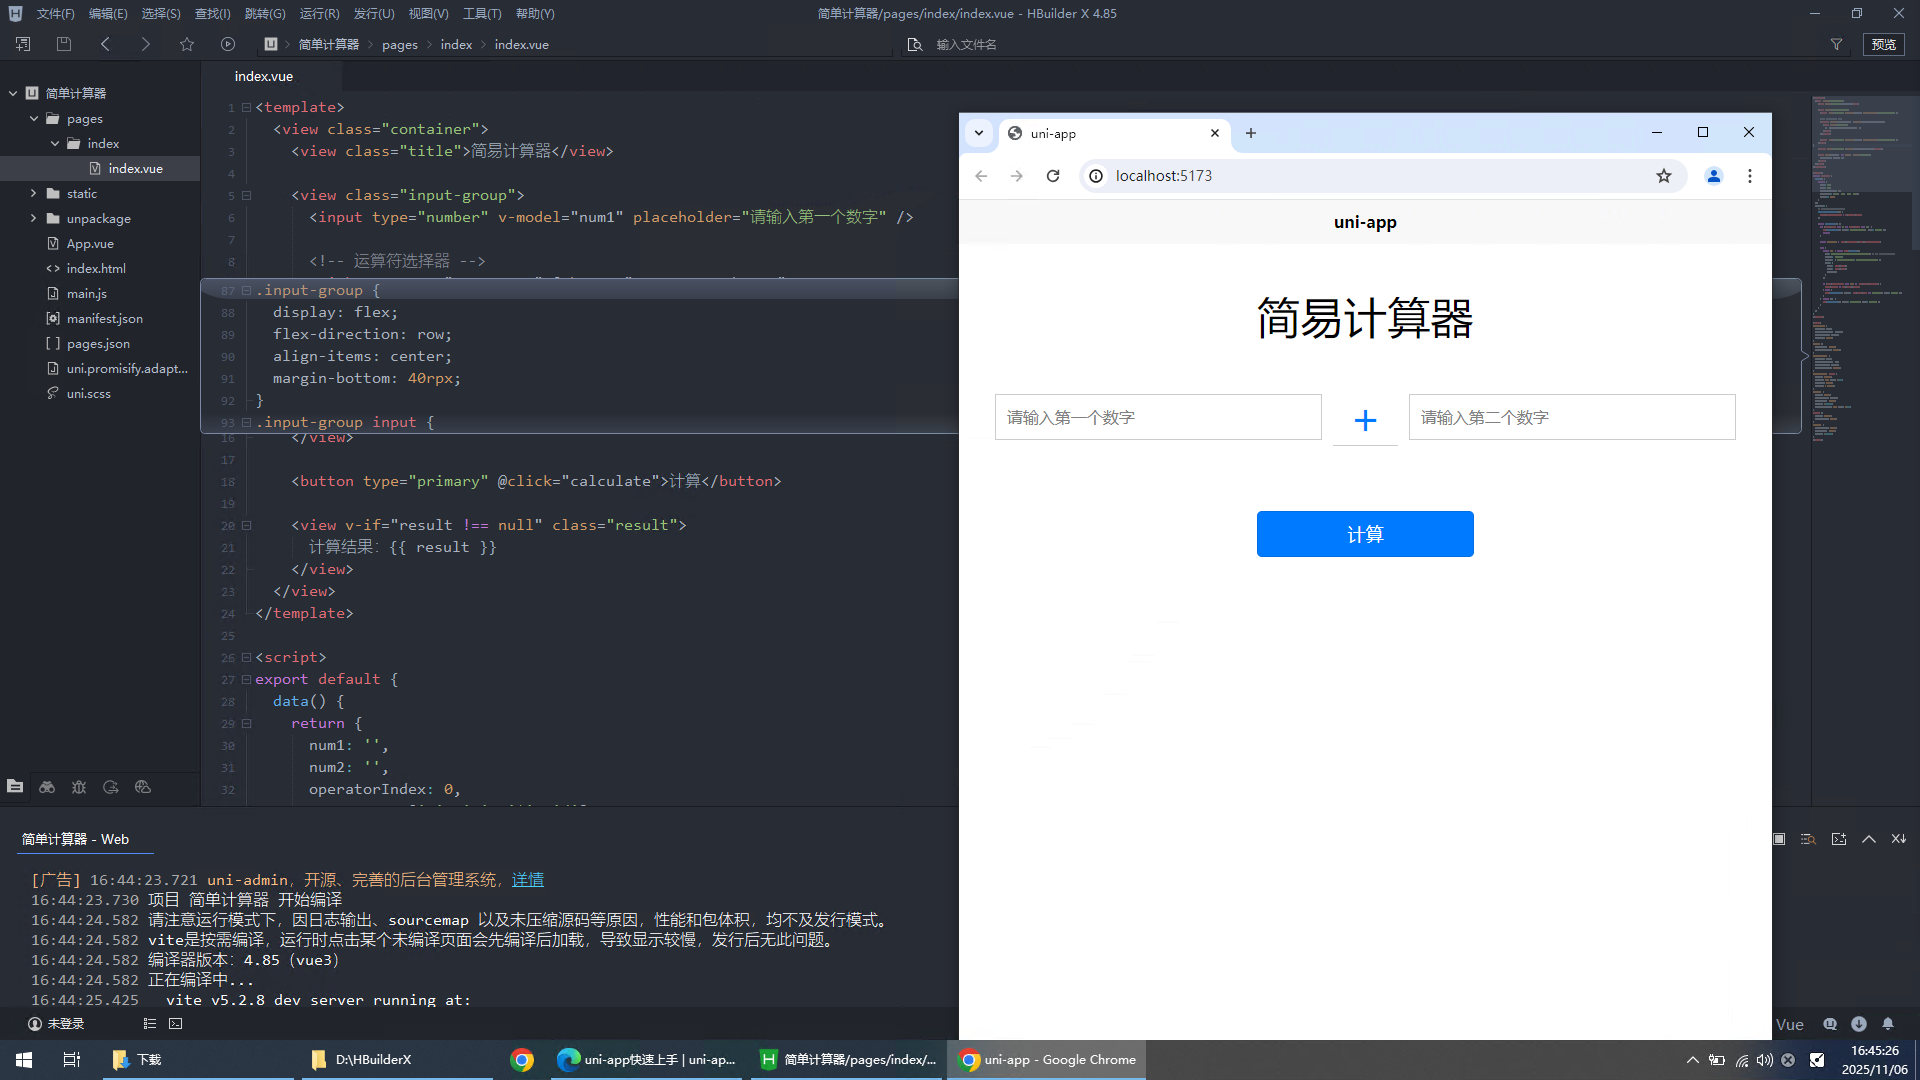
将代码编译到浏览器进行预览
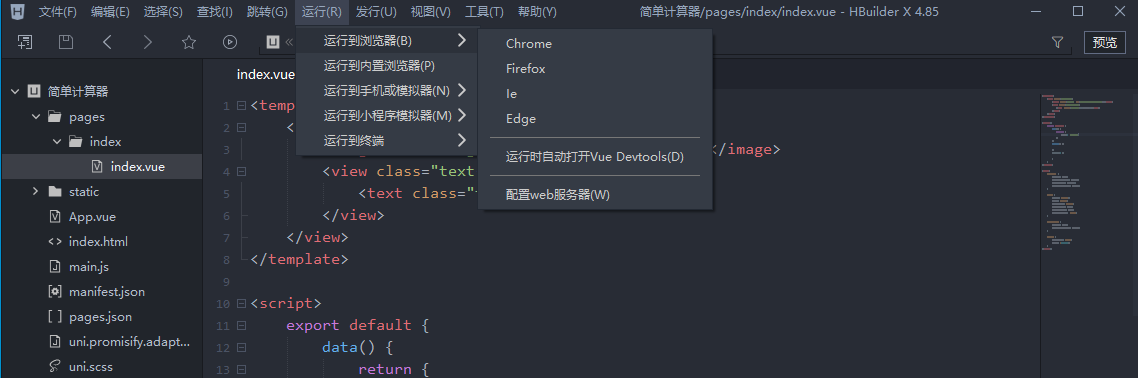
IDE 自动下载所需依赖环境
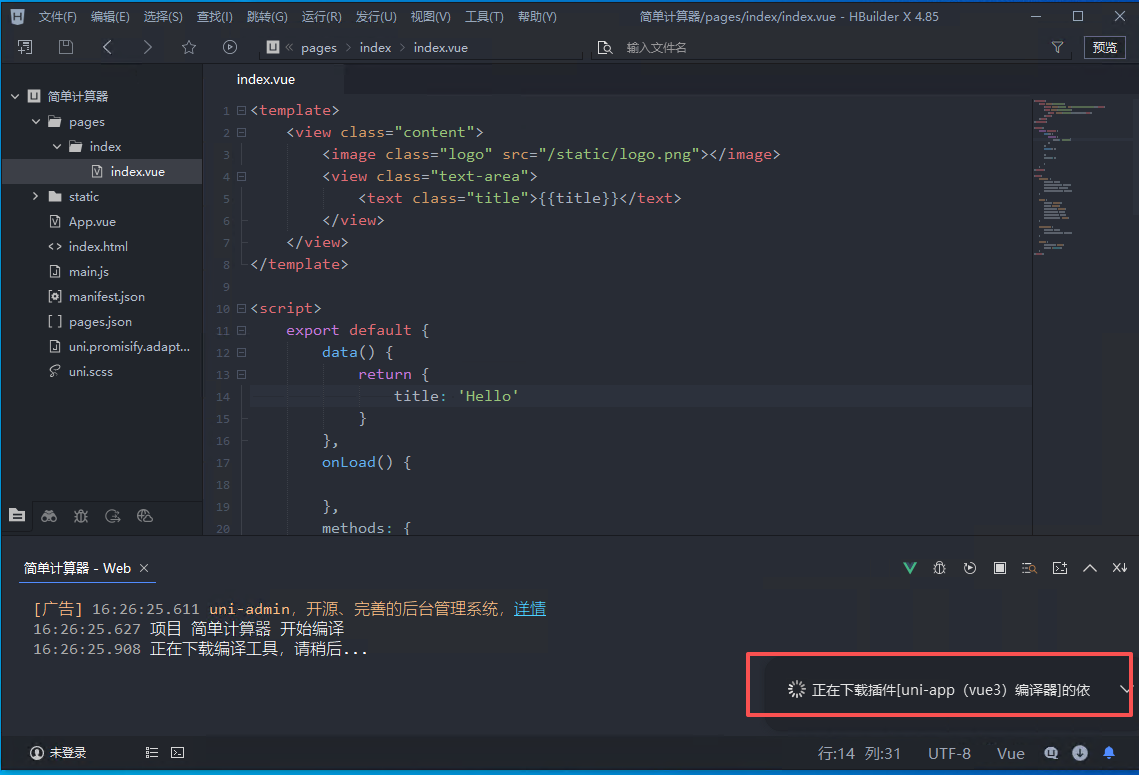
编译完成后自动打开浏览器预览界面
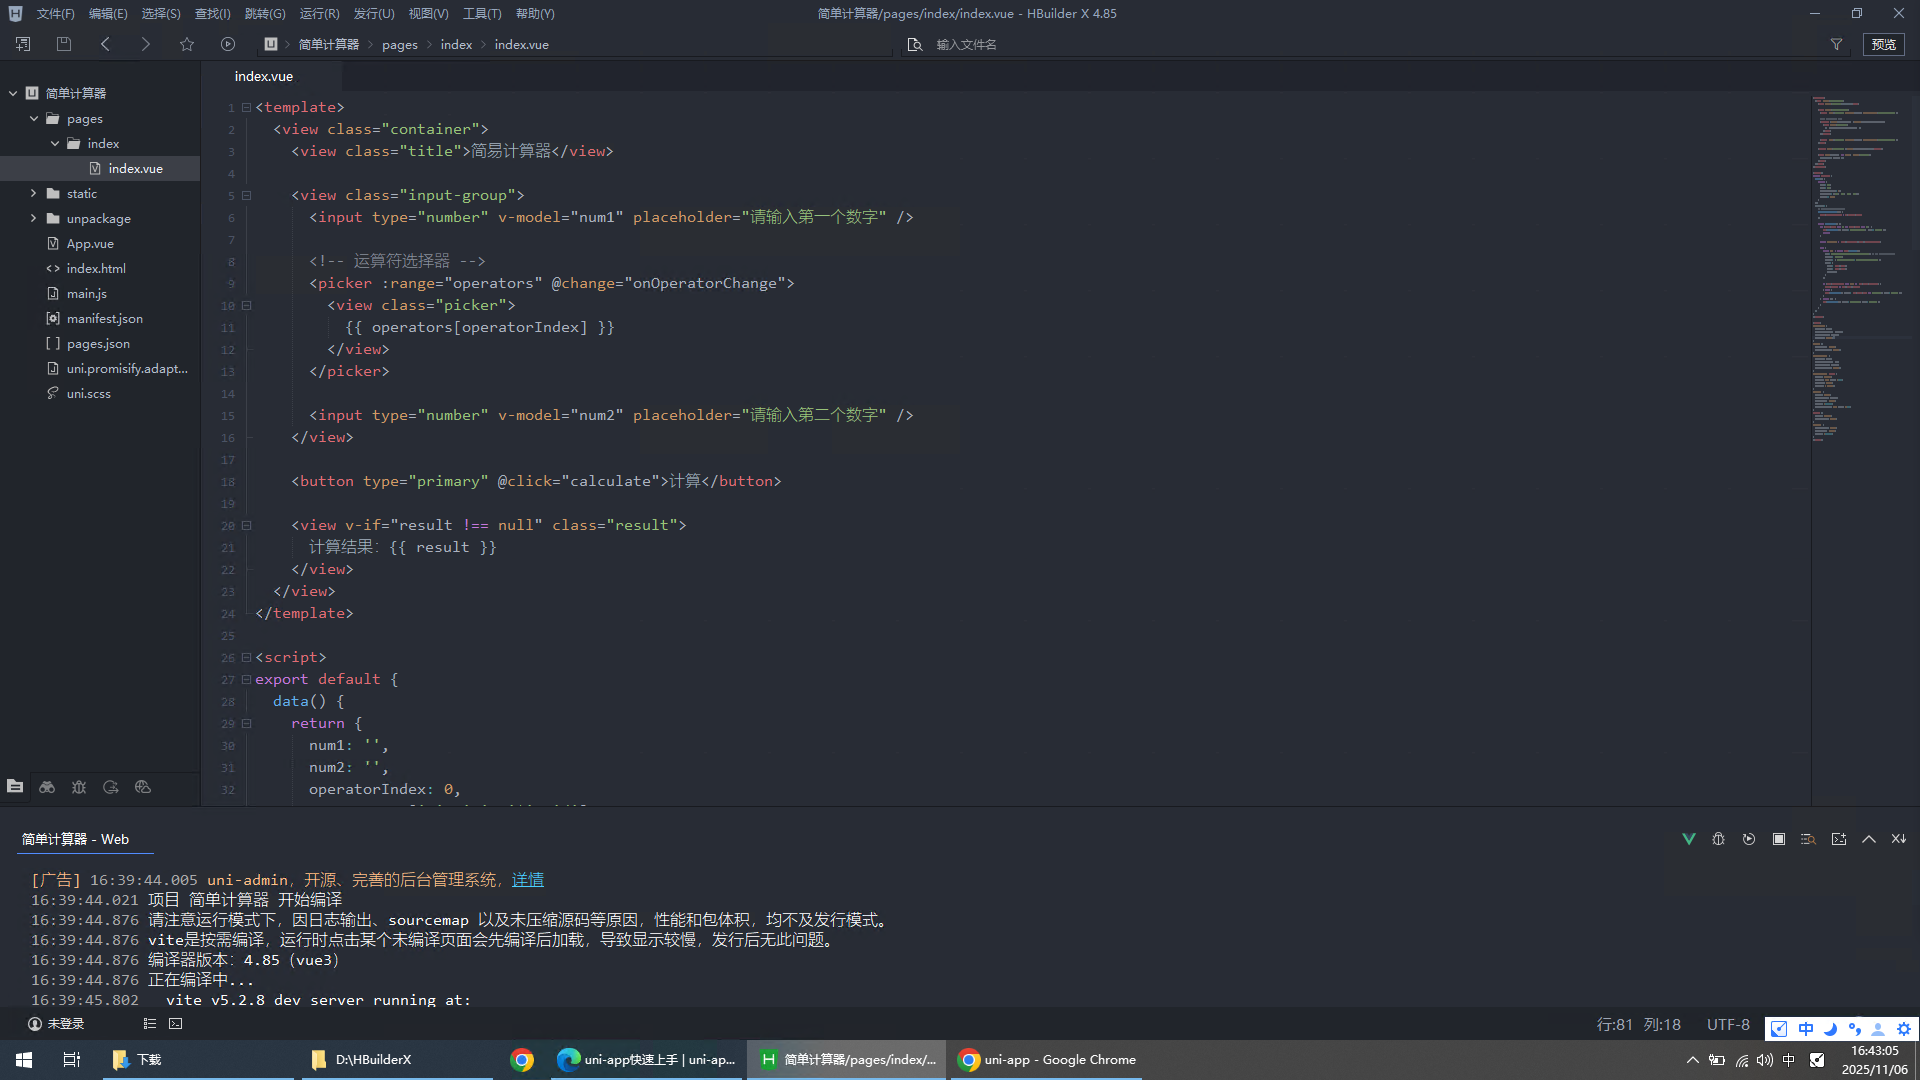
修改页面代码
<template>
<view class="container">
<view class="title">简易计算器</view>
<view class="input-group">
<input type="number" v-model="num1" placeholder="请输入第一个数字" />
<!-- 运算符选择器 -->
<picker :range="operators" @change="onOperatorChange">
<view class="picker">
{{ operators[operatorIndex] }}
</view>
</picker>
<input type="number" v-model="num2" placeholder="请输入第二个数字" />
</view>
<button type="primary" @click="calculate">计算</button>
<view v-if="result !== null" class="result">
计算结果:{{ result }}
</view>
</view>
</template>
<script>
export default {
data() {
return {
num1: '',
num2: '',
operatorIndex: 0,
operators: ['+', '-', '*', '/'],
result: null
}
},
methods: {
// 修复点:手动更新运算符索引
onOperatorChange(e) {
this.operatorIndex = e.detail.value
},
async calculate() {
if (this.num1 === '' || this.num2 === '') {
uni.showToast({ title: '请输入完整数据', icon: 'none' })
return
}
const operator = this.operators[this.operatorIndex]
try {
const res = await uni.request({
url: 'http://127.0.0.1:5000/api/calc', // ⚠️ 修改为你的后端地址
// url: 'https://api.wink98.top/demo/api/calc', // ⚠️ 修改为你的后端地址
method: 'POST',
header: { 'Content-Type': 'application/json' },
data: {
num1: this.num1,
num2: this.num2,
operator
}
})
if (res.statusCode === 200 && res.data.success) {
this.result = res.data.result
} else {
uni.showToast({ title: res.data.msg || '计算错误', icon: 'none' })
}
} catch (e) {
uni.showToast({ title: '网络错误', icon: 'none' })
}
}
}
}
</script>
<style>
.container {
display: flex;
flex-direction: column;
align-items: center;
padding: 40rpx;
}
.title {
font-size: 40rpx;
margin-bottom: 40rpx;
}
.input-group {
display: flex;
flex-direction: row;
align-items: center;
margin-bottom: 40rpx;
}
.input-group input {
width: 280rpx;
border: 1px solid #ccc;
padding: 10rpx;
margin: 0 10rpx;
}
.picker {
width: 60rpx;
text-align: center;
font-size: 40rpx;
color: #007aff;
border-bottom: 1px solid #ccc;
}
button {
width: 200rpx;
margin-top: 20rpx;
}
.result {
margin-top: 40rpx;
font-size: 36rpx;
color: #007aff;
}
</style>
重新编译页面
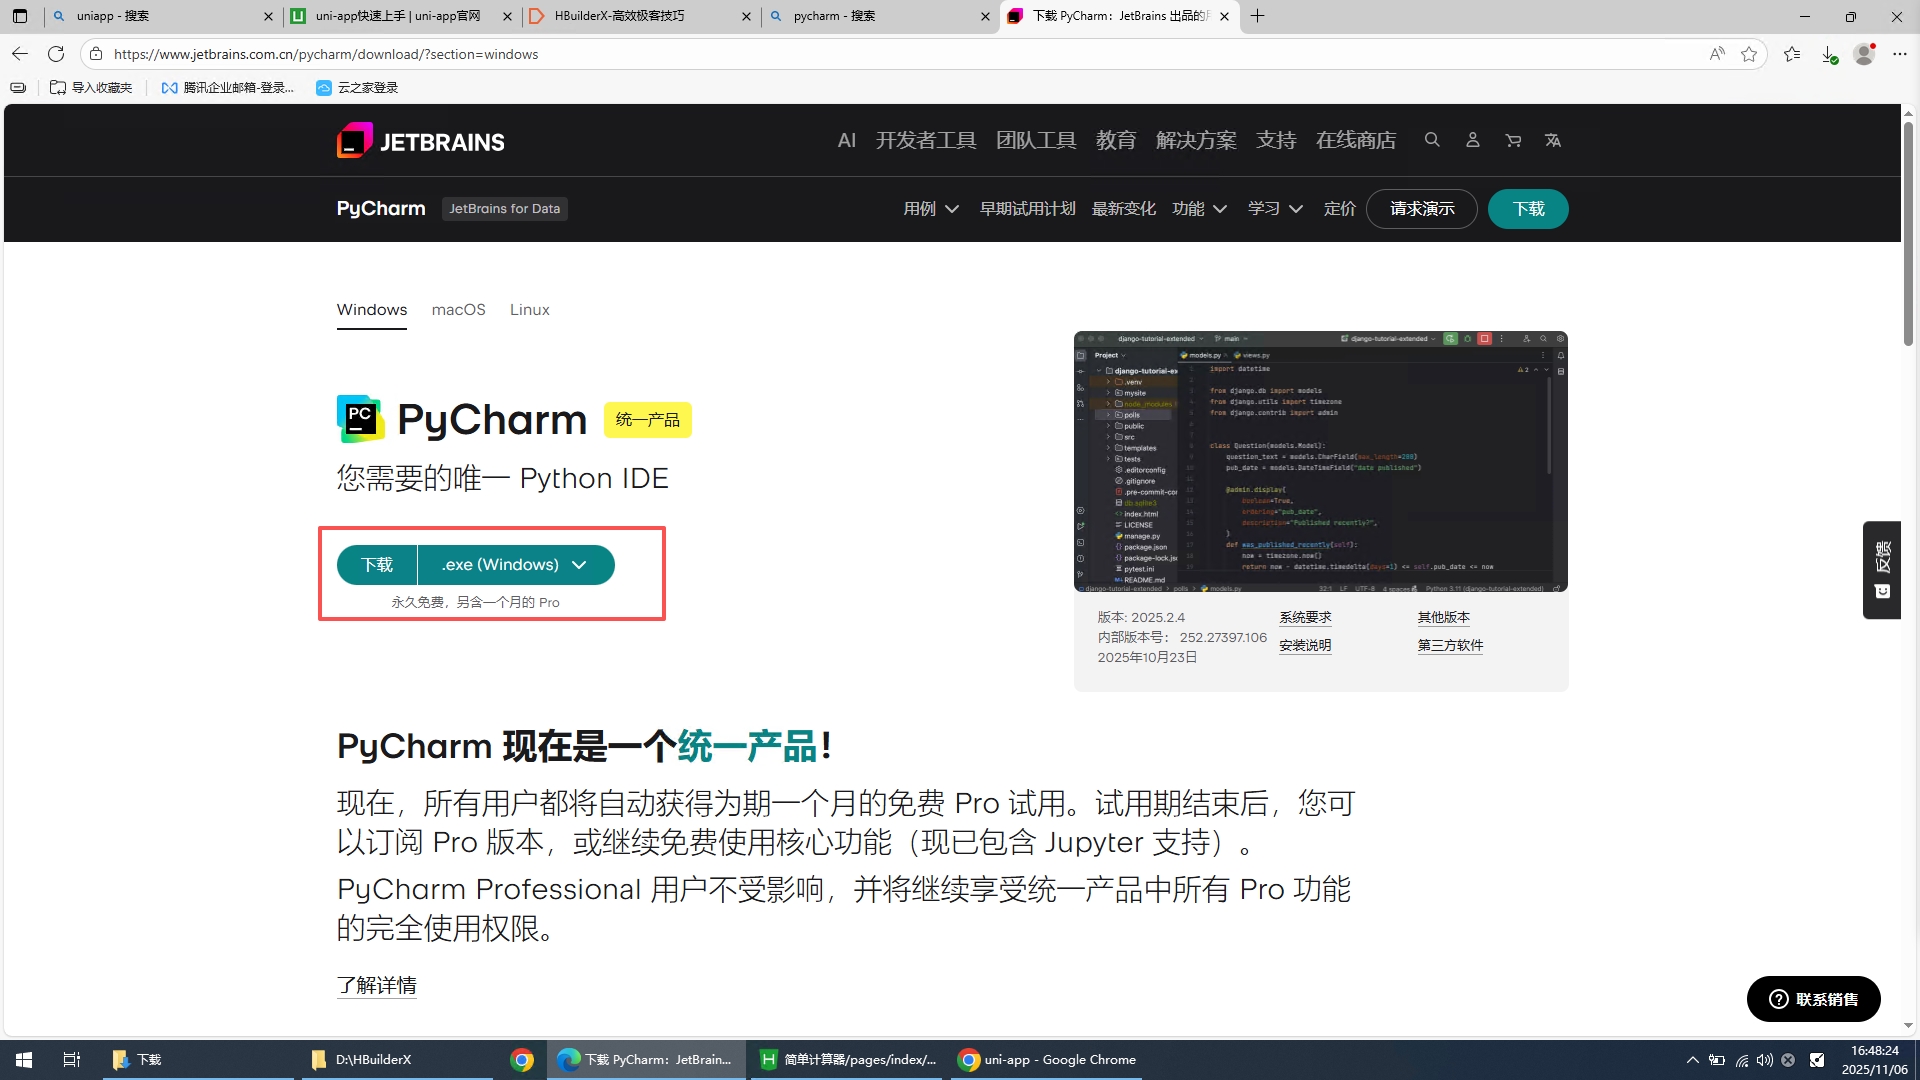
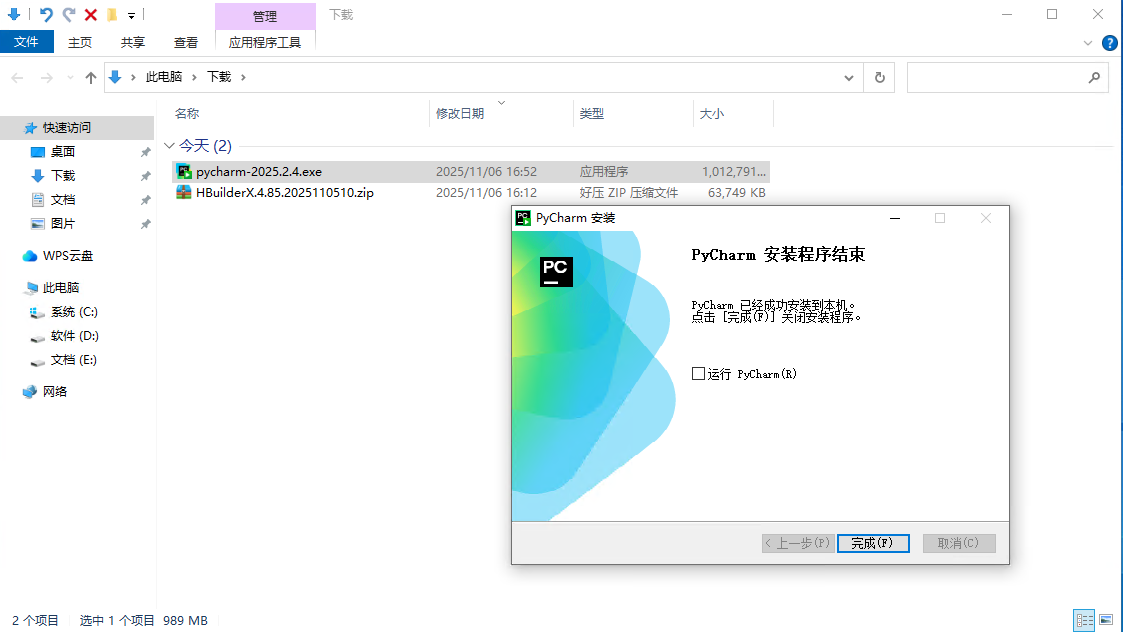
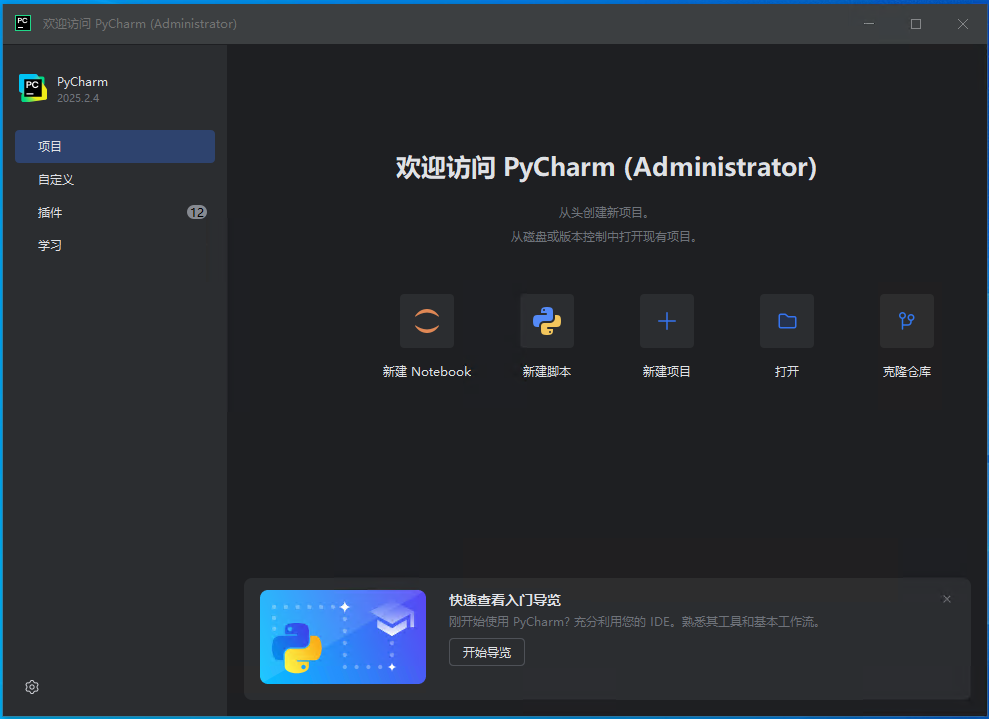
3、下载并安装pycharm
PyCharm:官方IDE下载地址
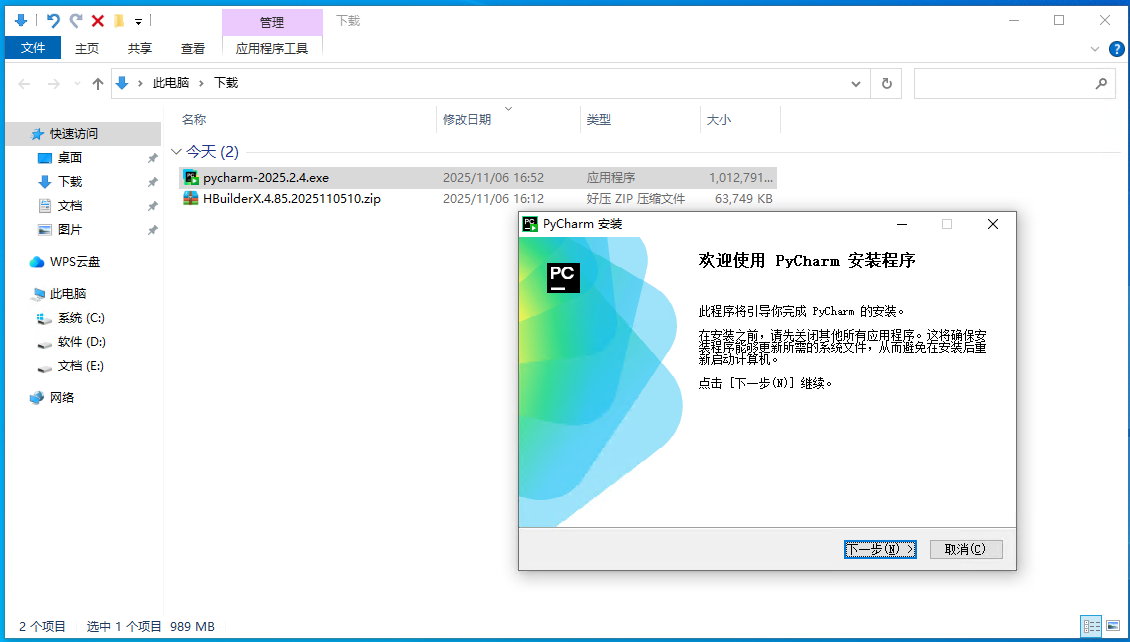
双击运行安装pycharm
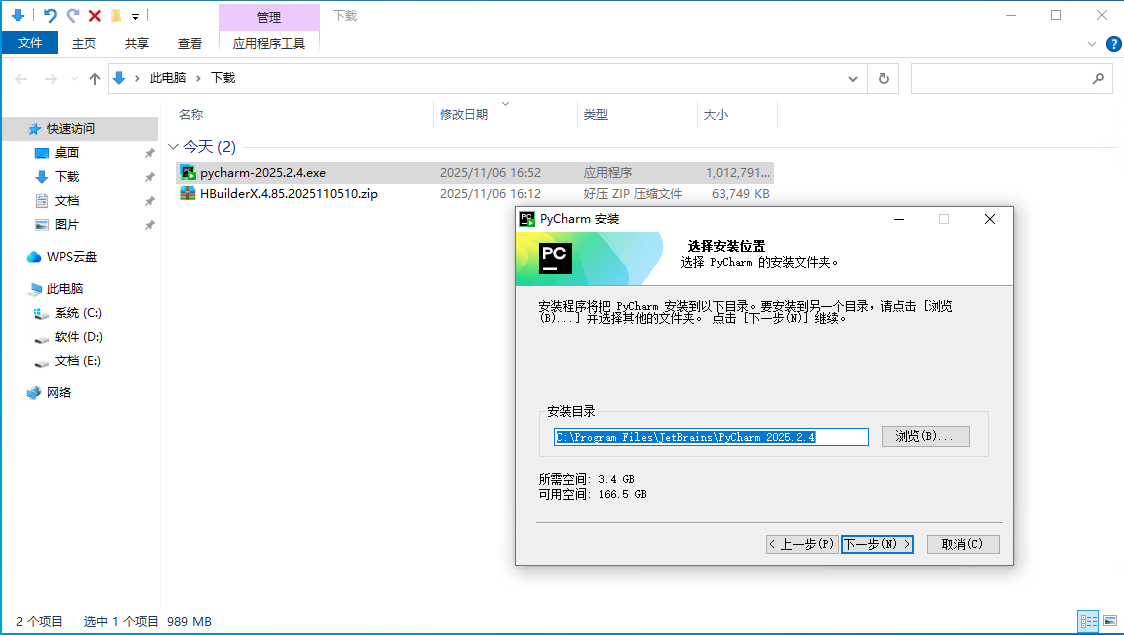
设置默认安装位置
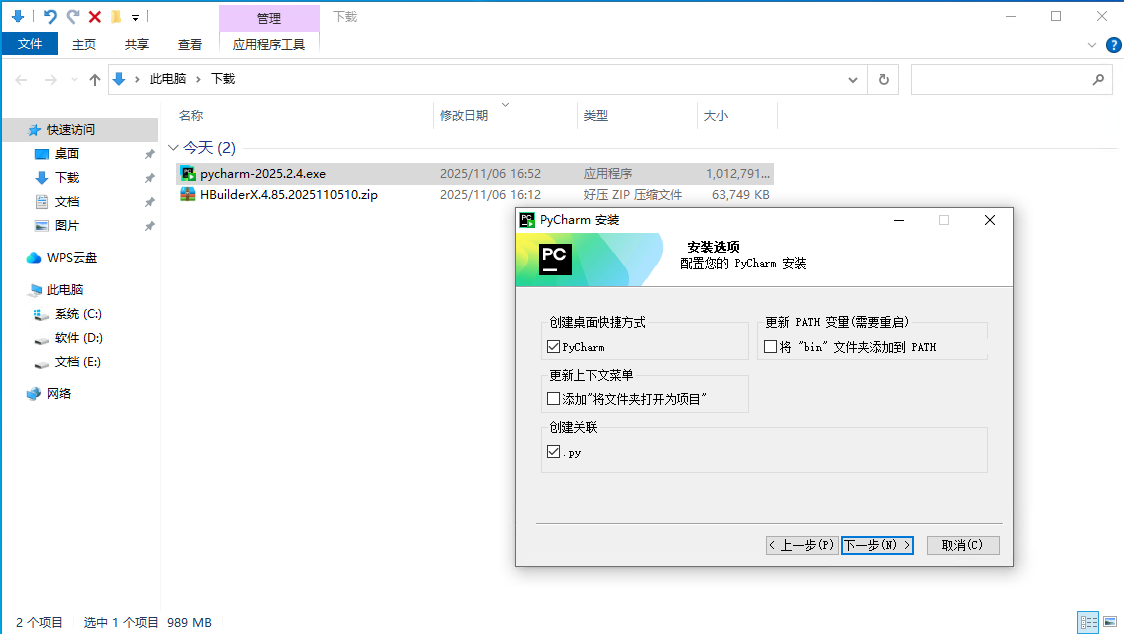
勾选创建快捷方式,创建py关联
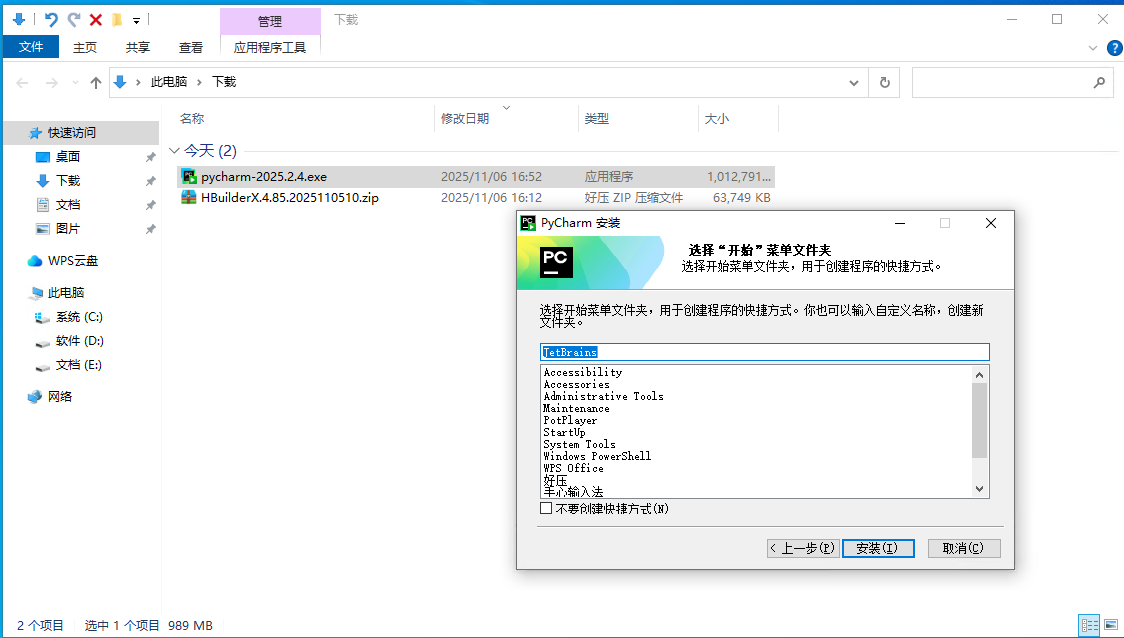
默认下一步
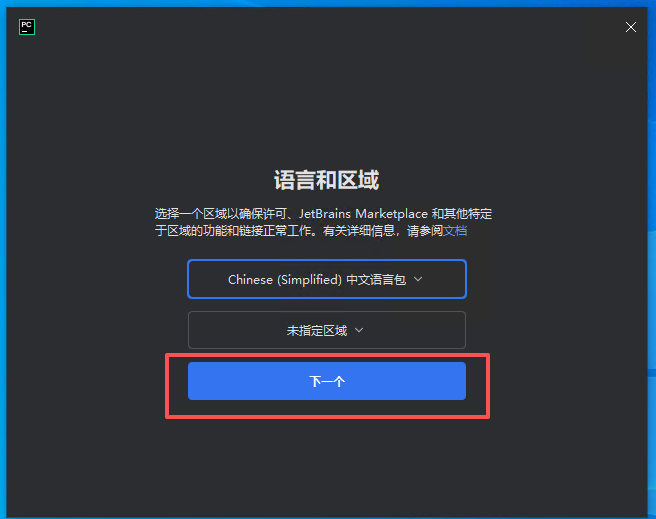
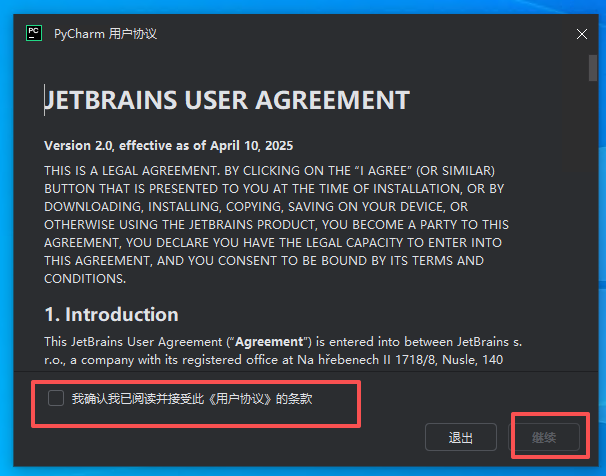
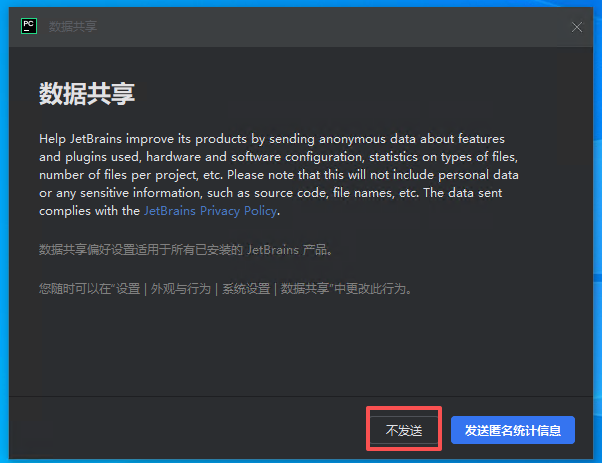
完成首次启动选择
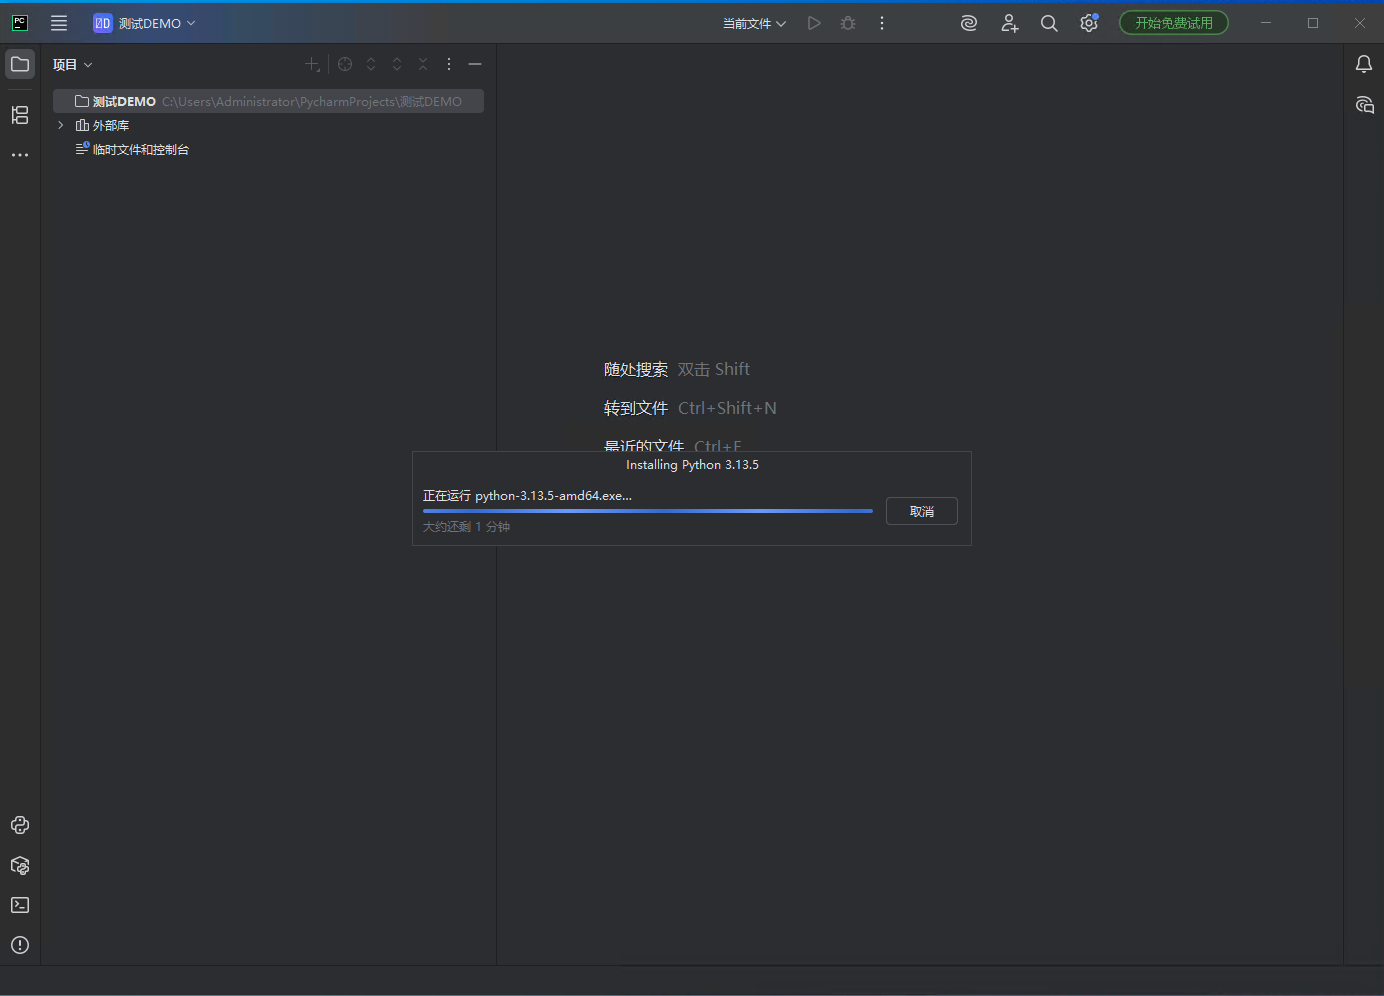
4、创建一个后端项目Demo
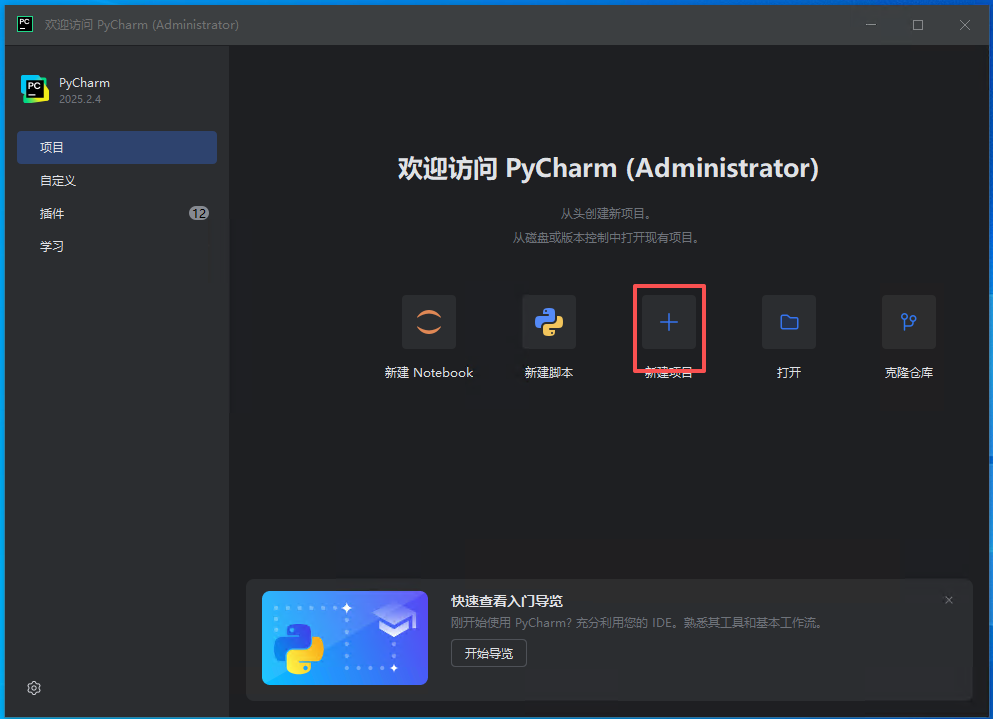
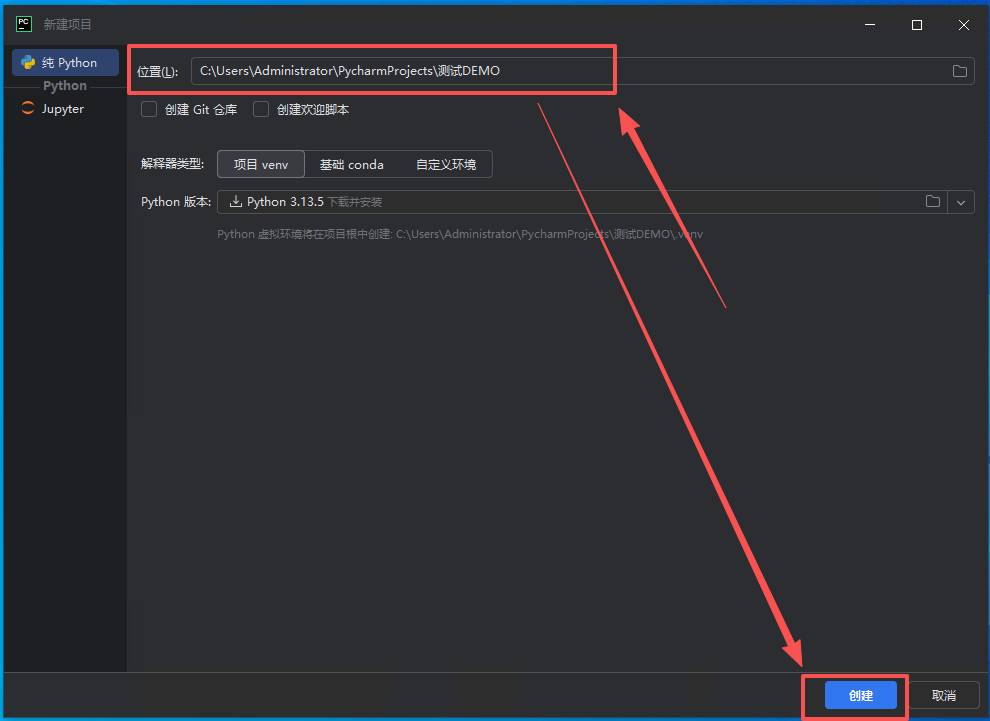
自动下载编译器,创建py项目
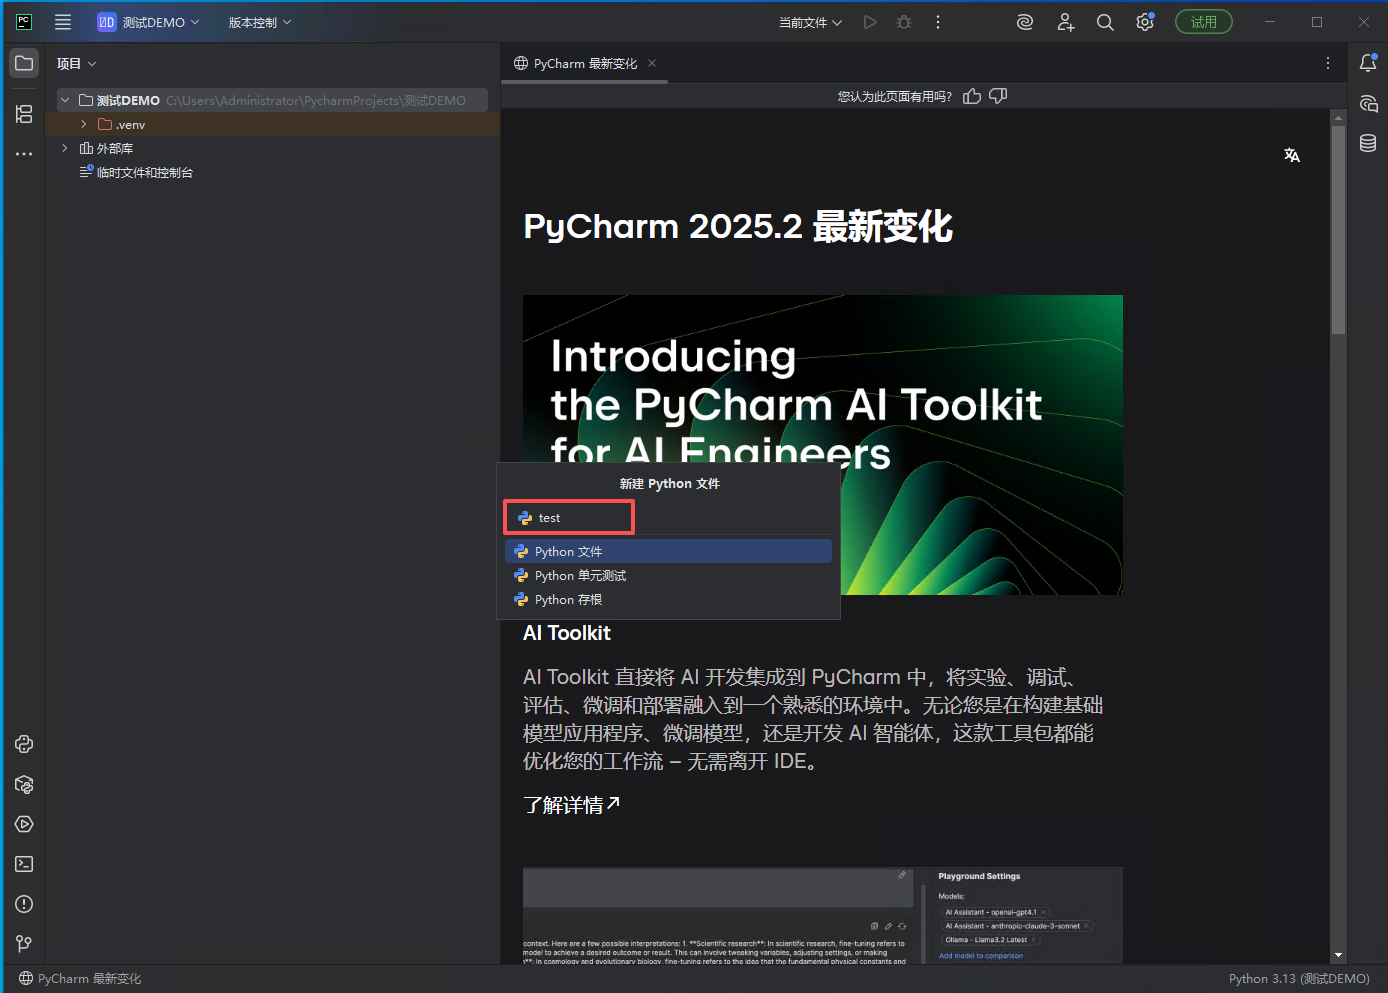
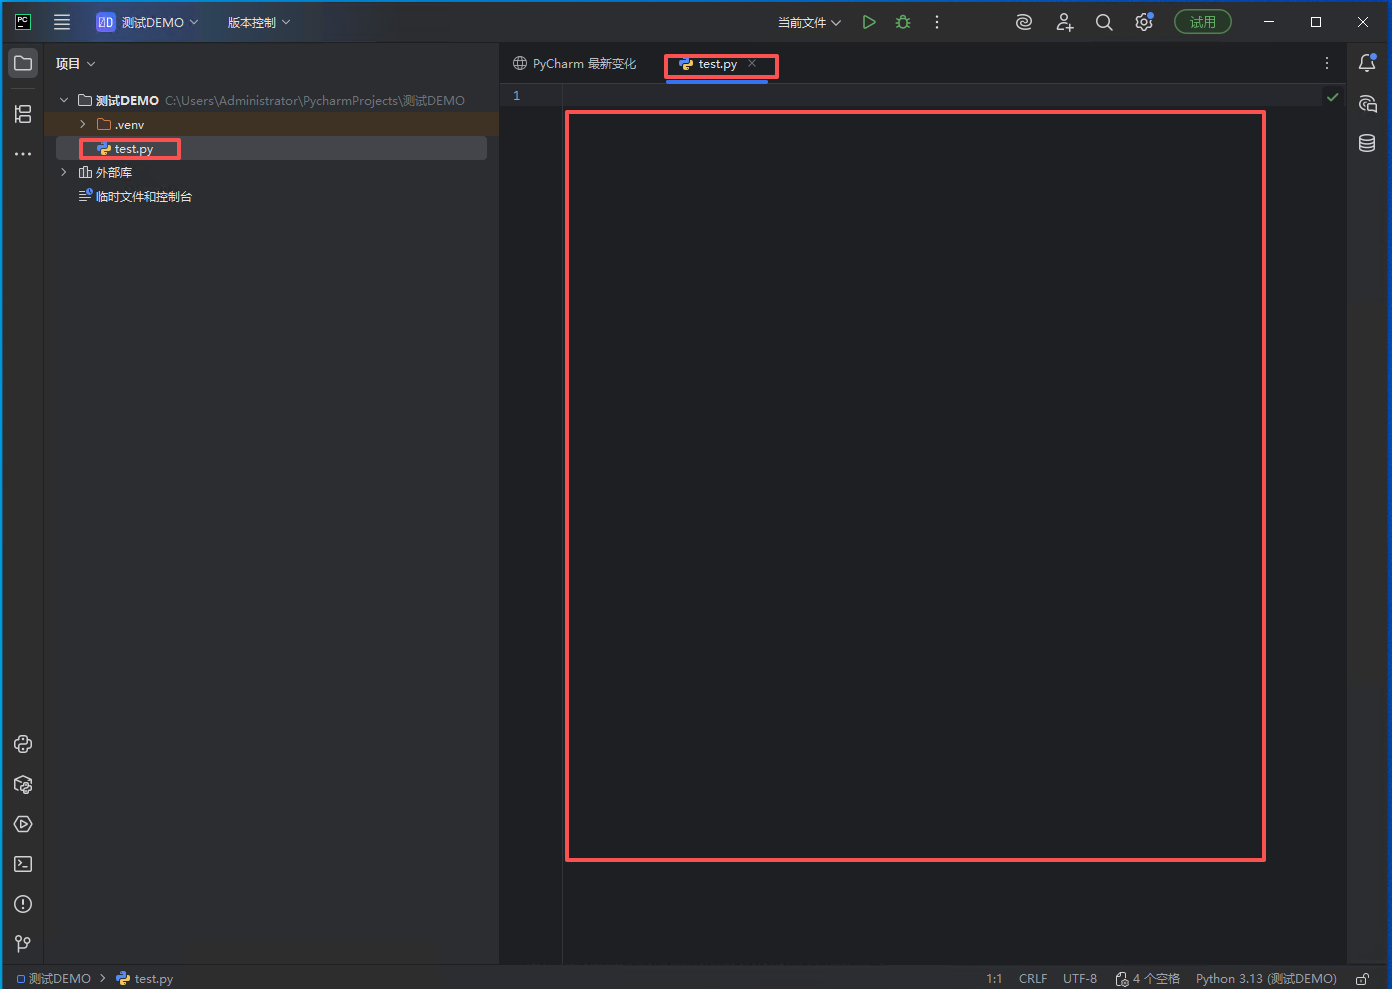
在项目中创建一个py文件

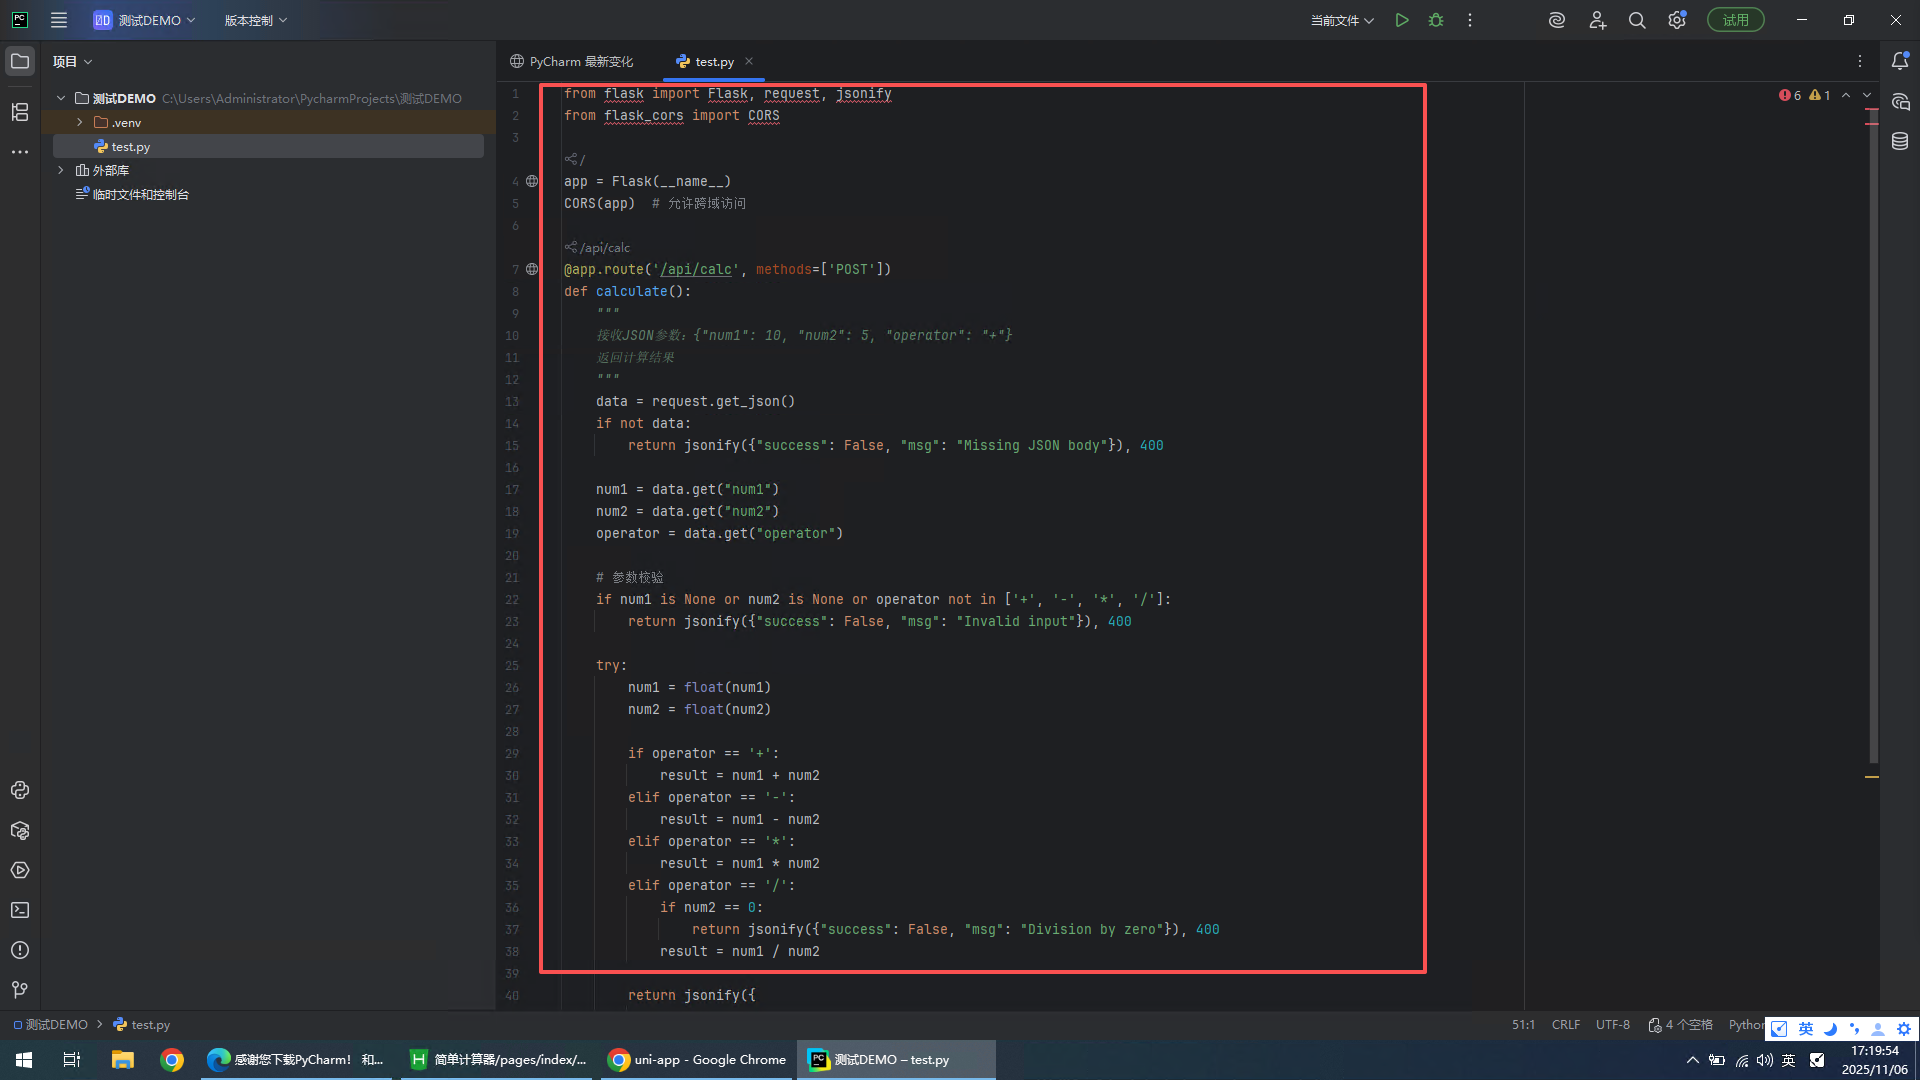
编写一个简单的py代码
from flask import Flask, request, jsonify
from flask_cors import CORS
app = Flask(__name__)
CORS(app) # 允许跨域访问
@app.route('/api/calc', methods=['POST'])
def calculate():
"""
接收JSON参数:{"num1": 10, "num2": 5, "operator": "+"}
返回计算结果
"""
data = request.get_json()
if not data:
return jsonify({"success": False, "msg": "Missing JSON body"}), 400
num1 = data.get("num1")
num2 = data.get("num2")
operator = data.get("operator")
# 参数校验
if num1 is None or num2 is None or operator not in ['+', '-', '*', '/']:
return jsonify({"success": False, "msg": "Invalid input"}), 400
try:
num1 = float(num1)
num2 = float(num2)
if operator == '+':
result = num1 + num2
elif operator == '-':
result = num1 - num2
elif operator == '*':
result = num1 * num2
elif operator == '/':
if num2 == 0:
return jsonify({"success": False, "msg": "Division by zero"}), 400
result = num1 / num2
print(f"{num1} {operator} {num2} = {result}")
return jsonify({
"success": True,
"result": result
})
except Exception as e:
return jsonify({"success": False, "msg": str(e)}), 500
if __name__ == '__main__':
app.run(host='0.0.0.0', port=5000, debug=True)
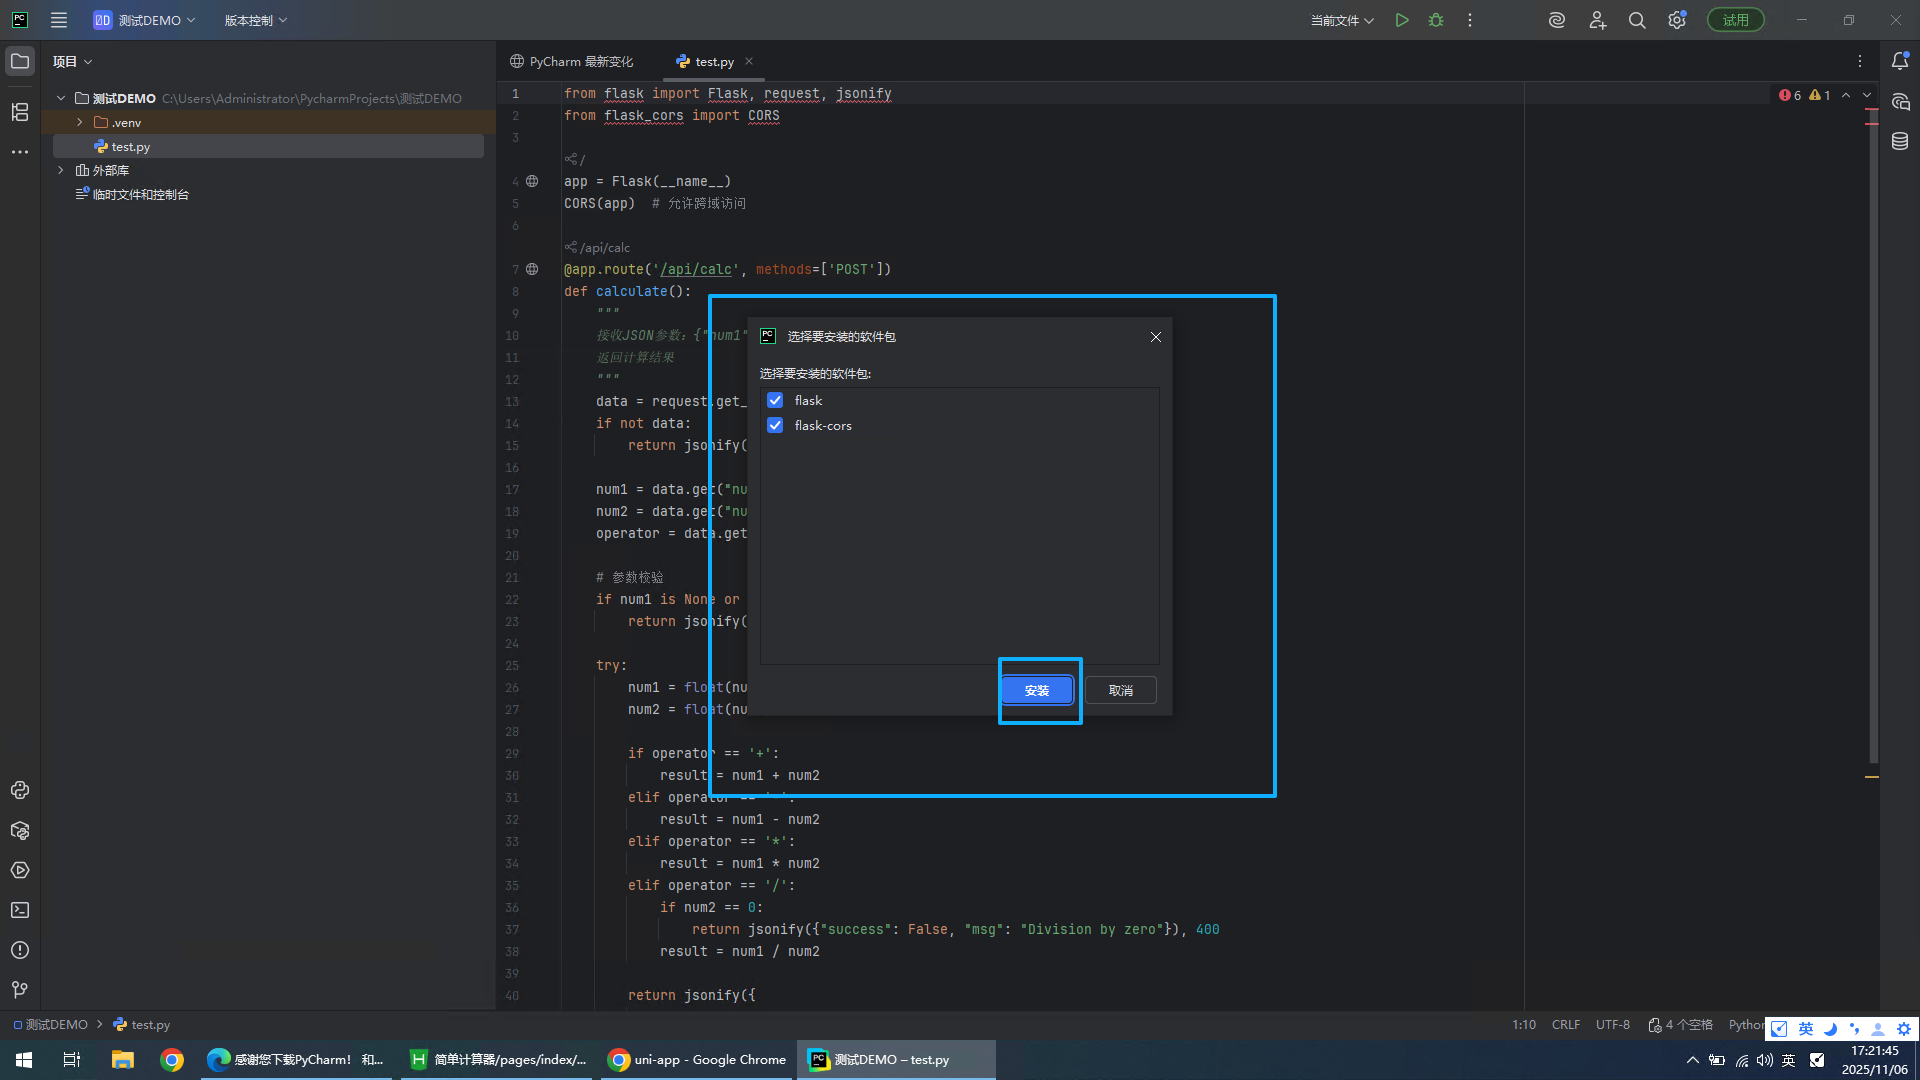
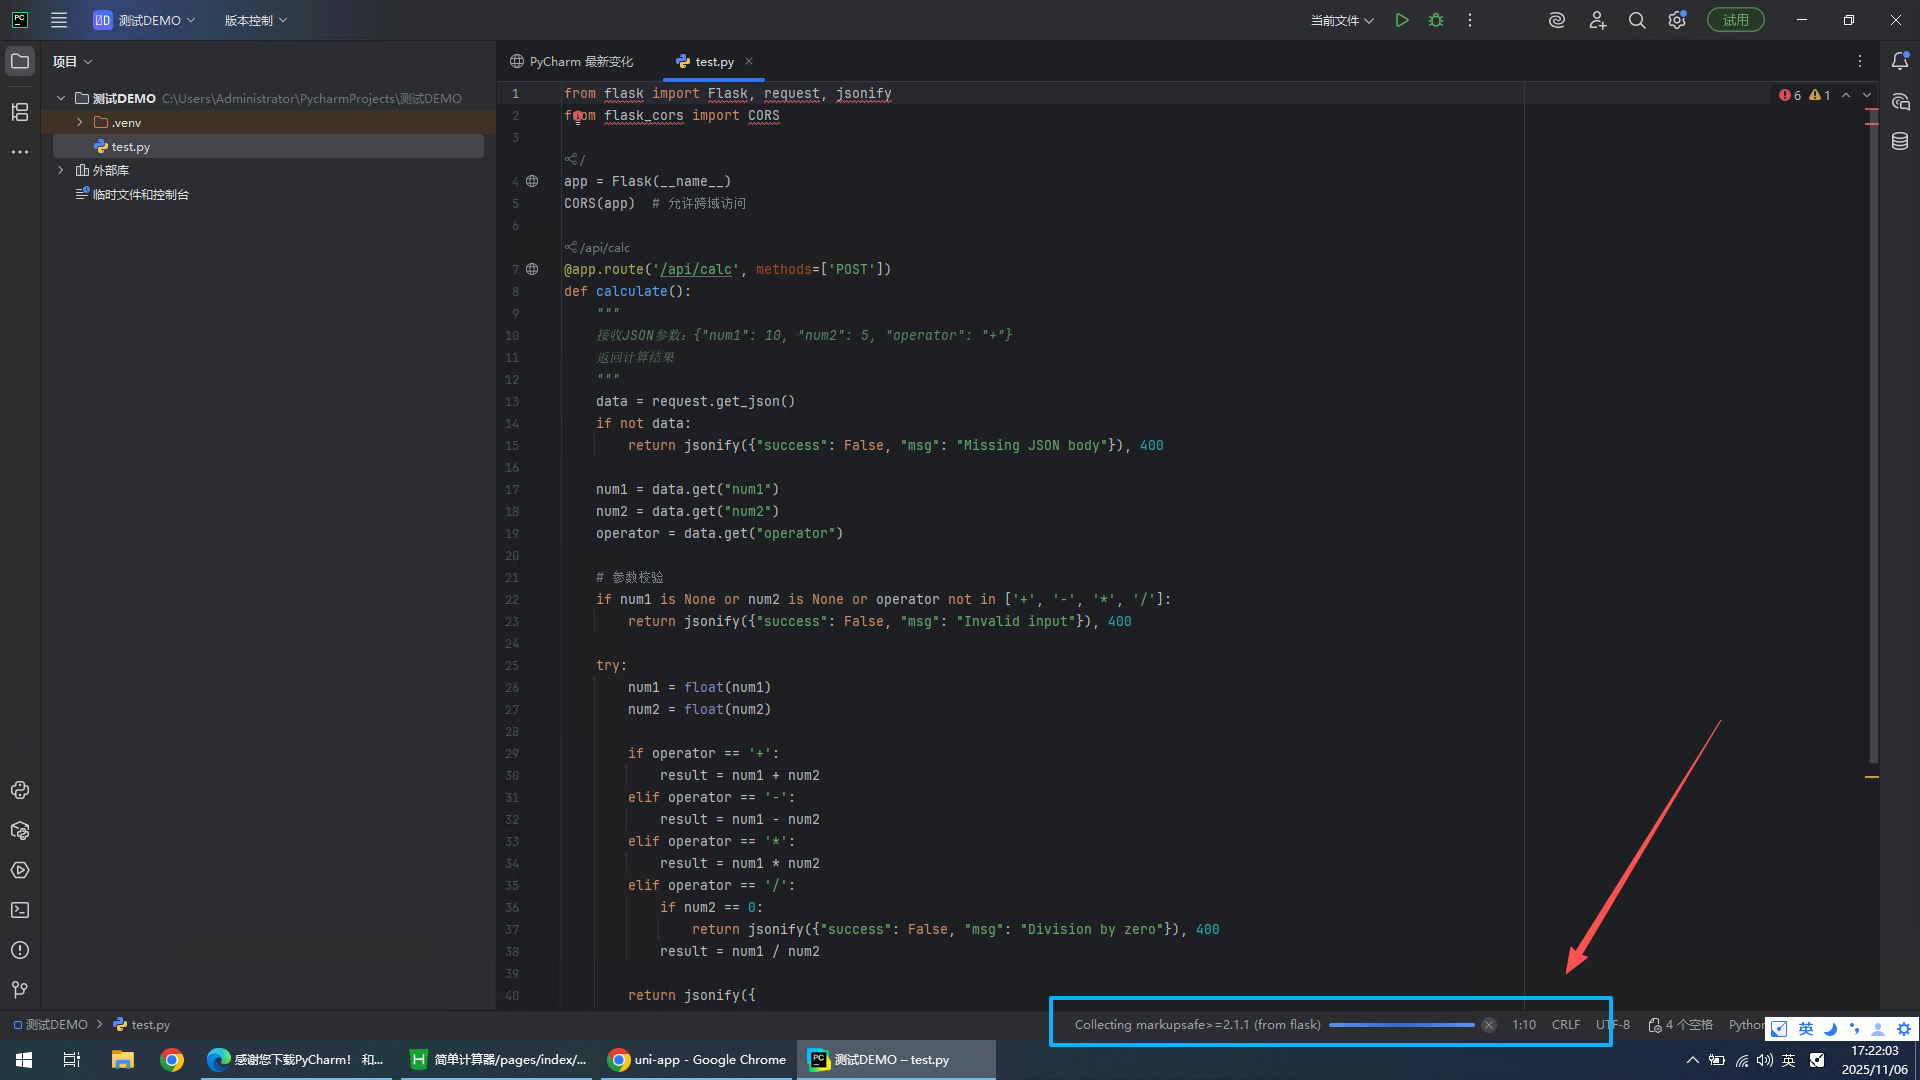
安装代码依赖
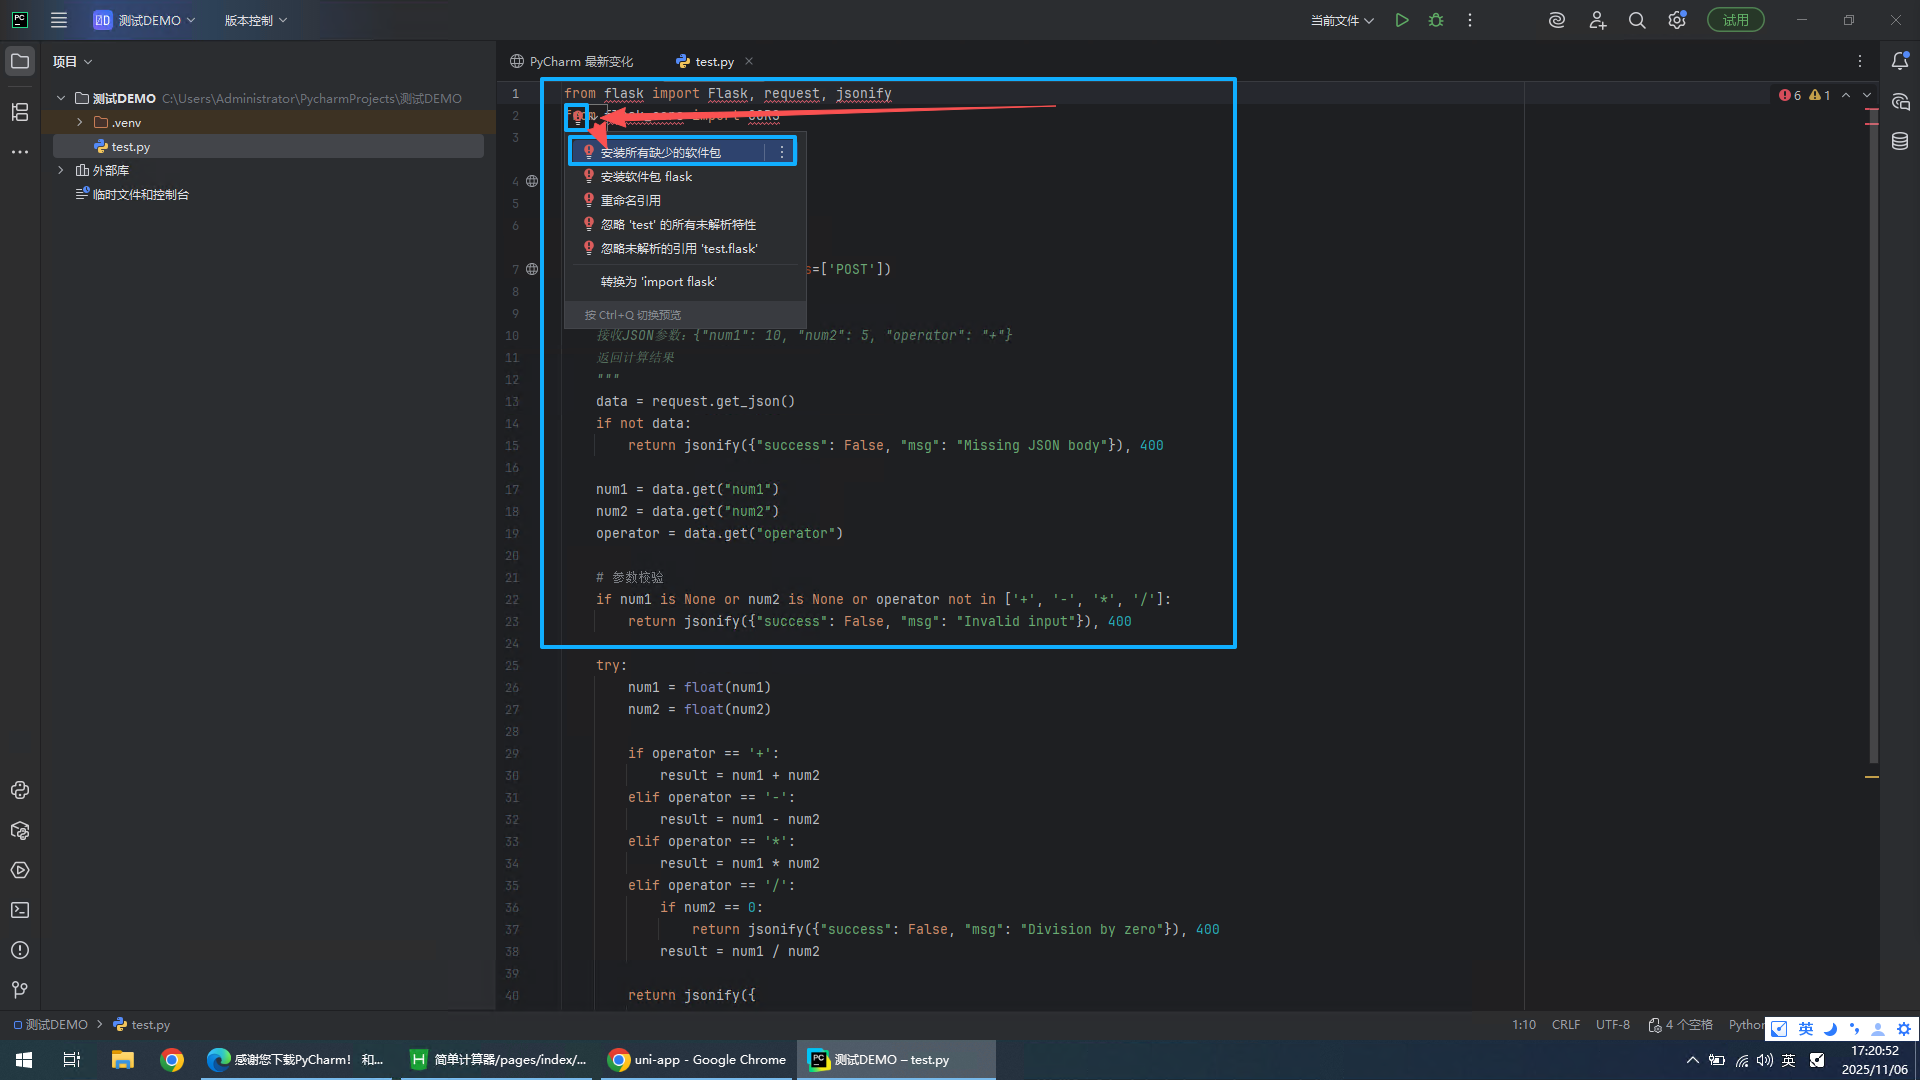
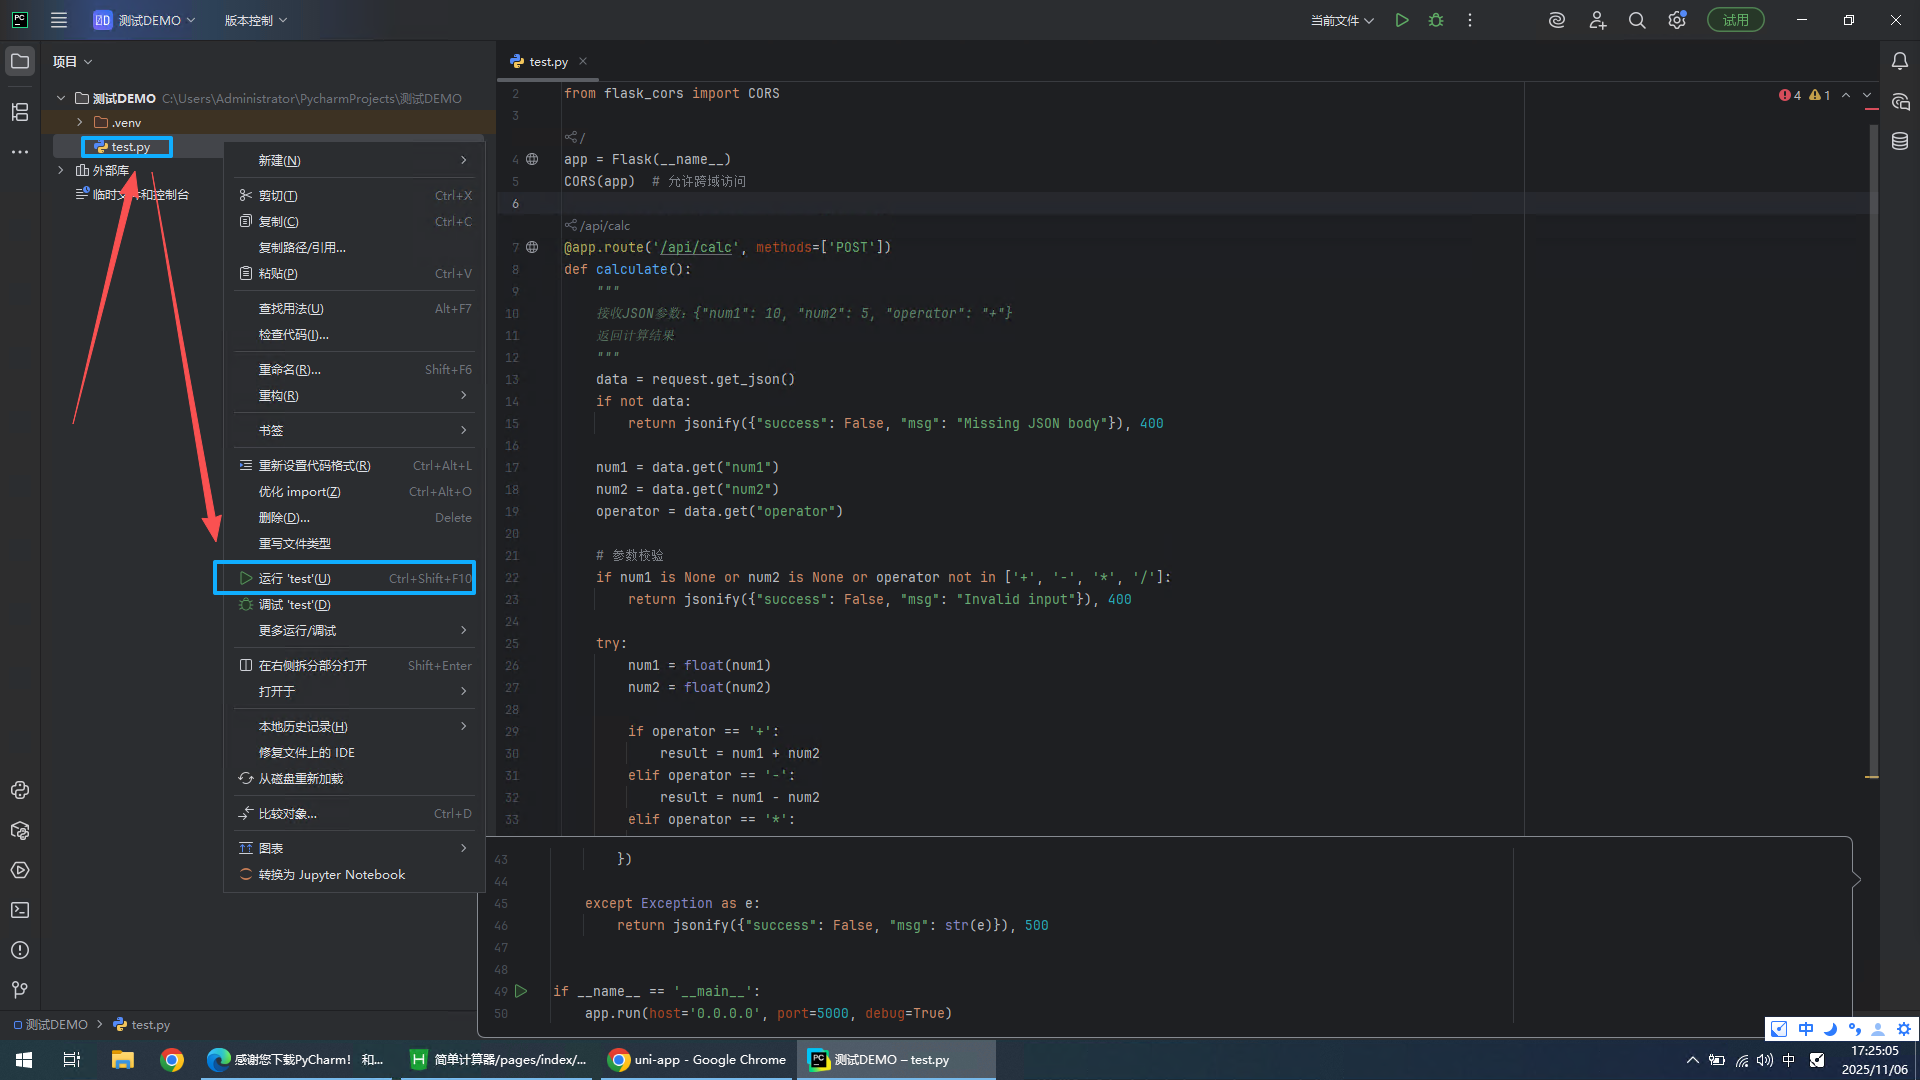
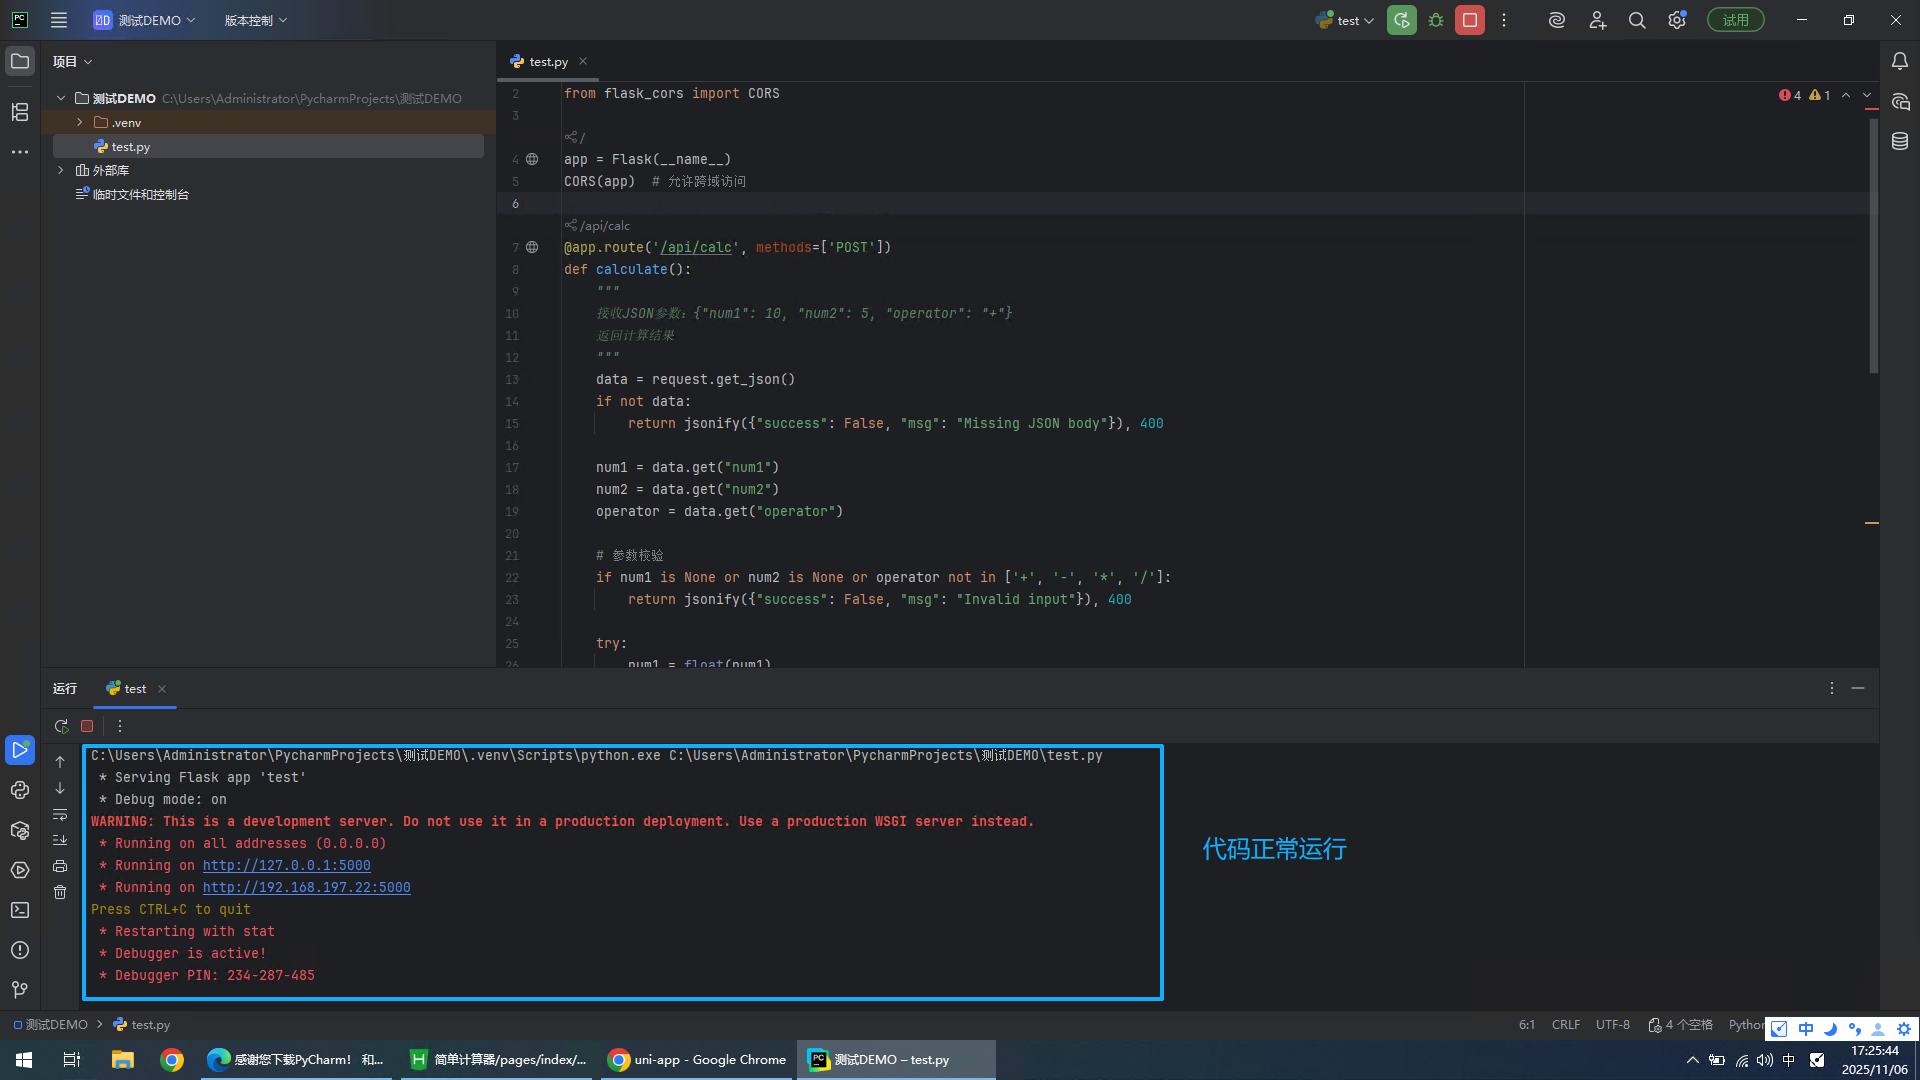
安装完成依赖后,运行该py文件
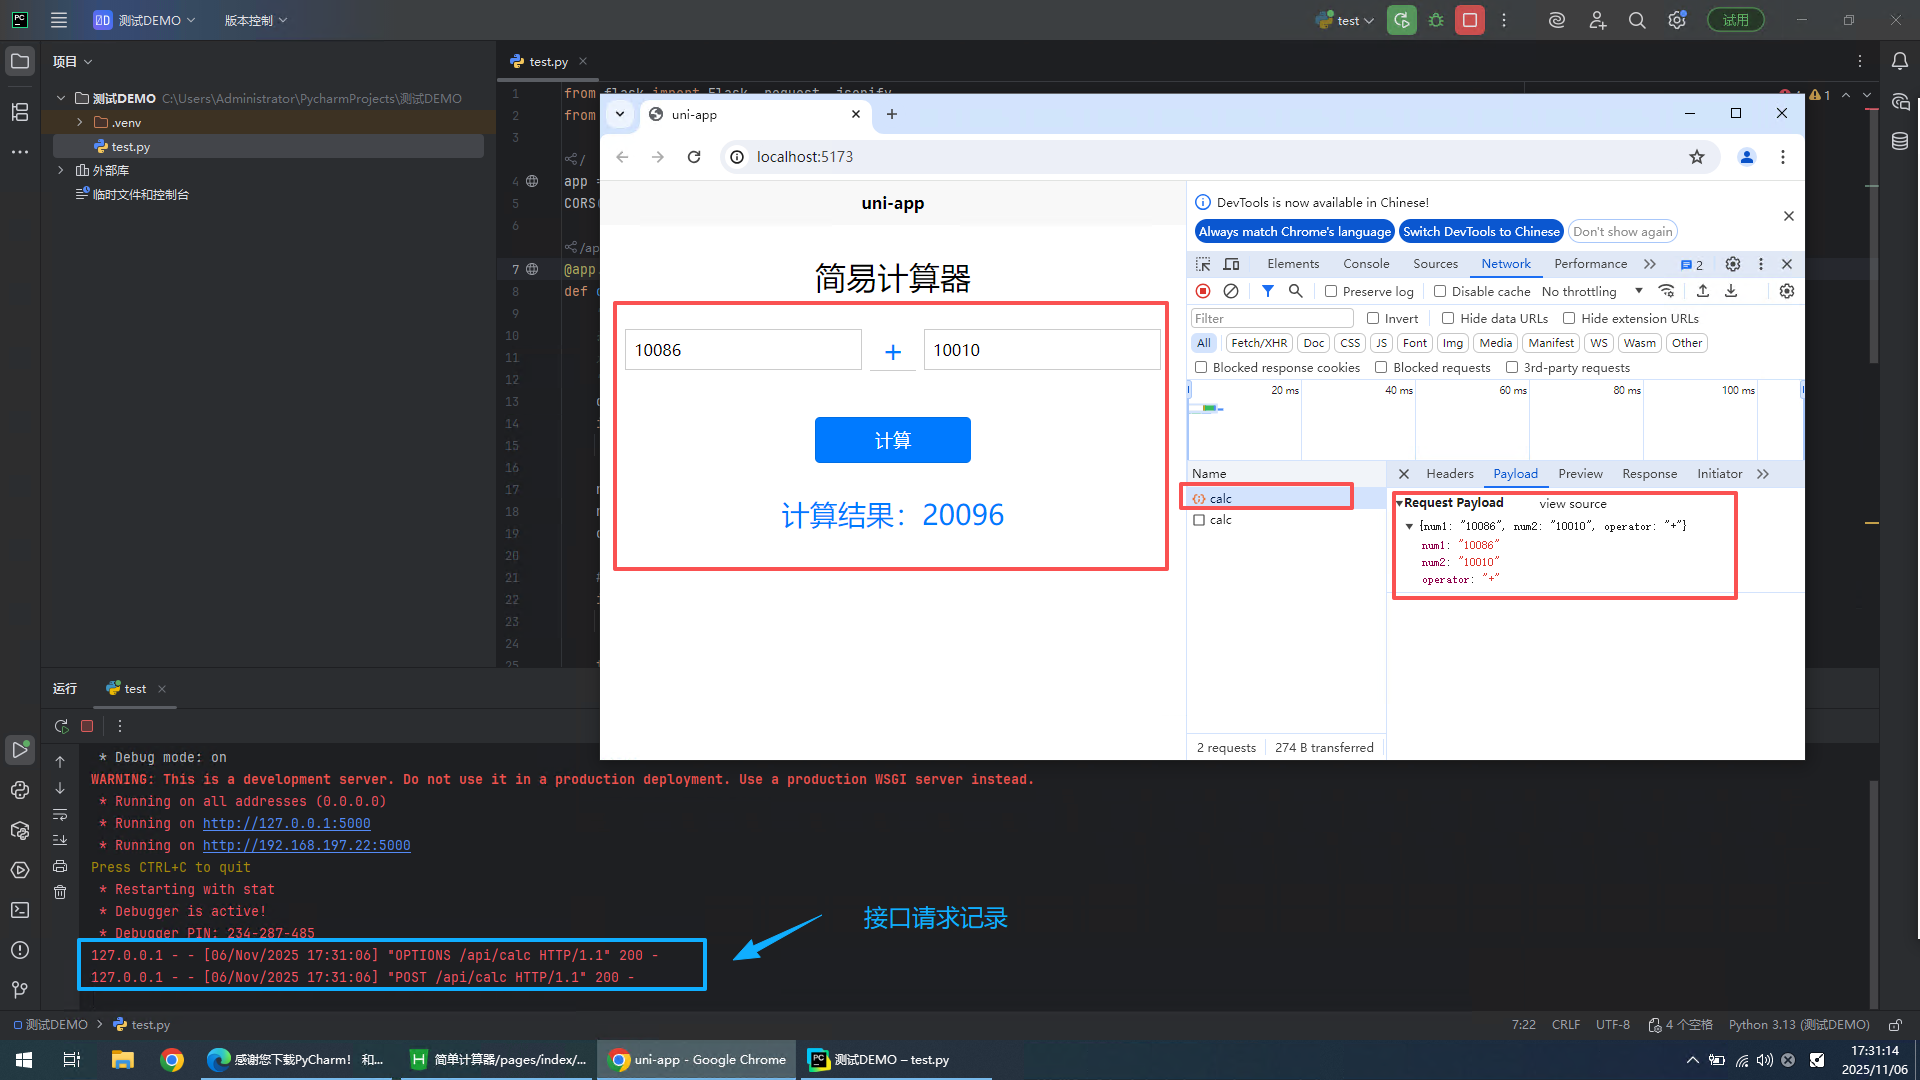
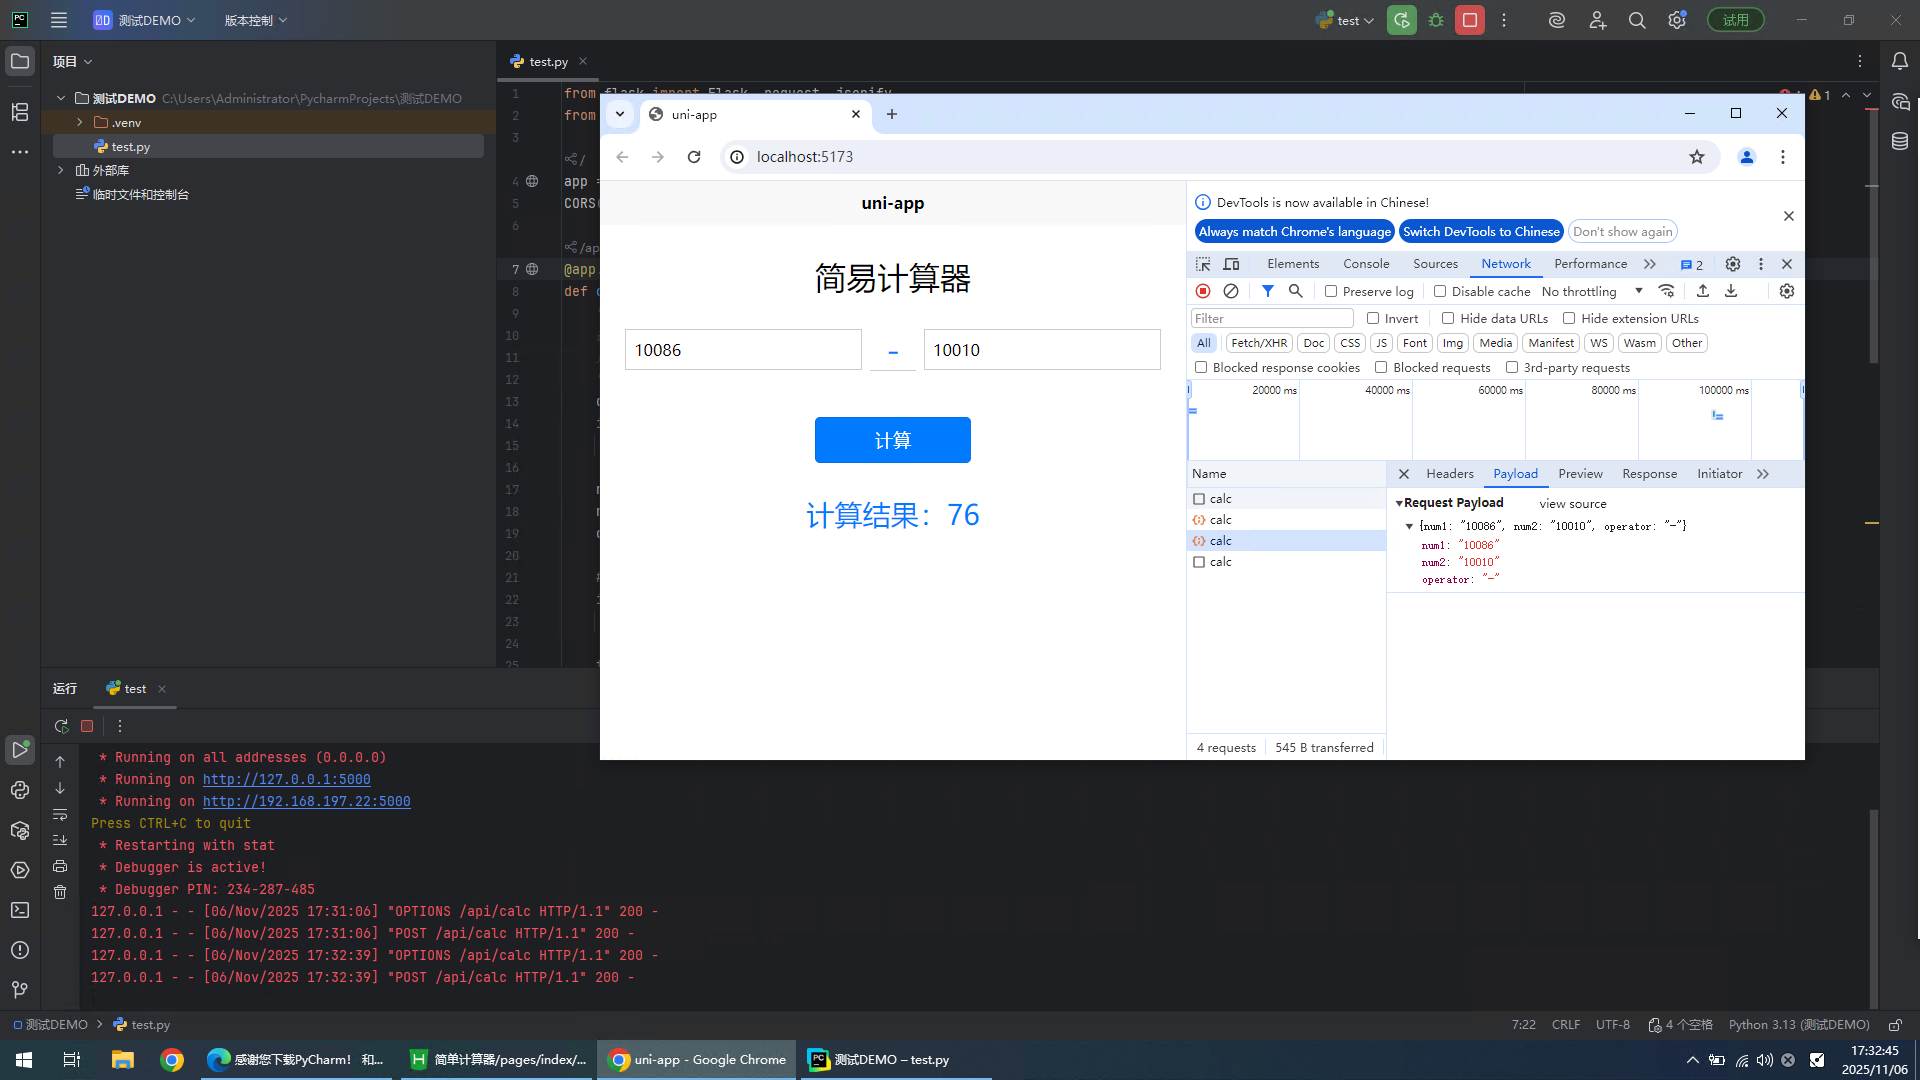
5、验证前后端调用情况
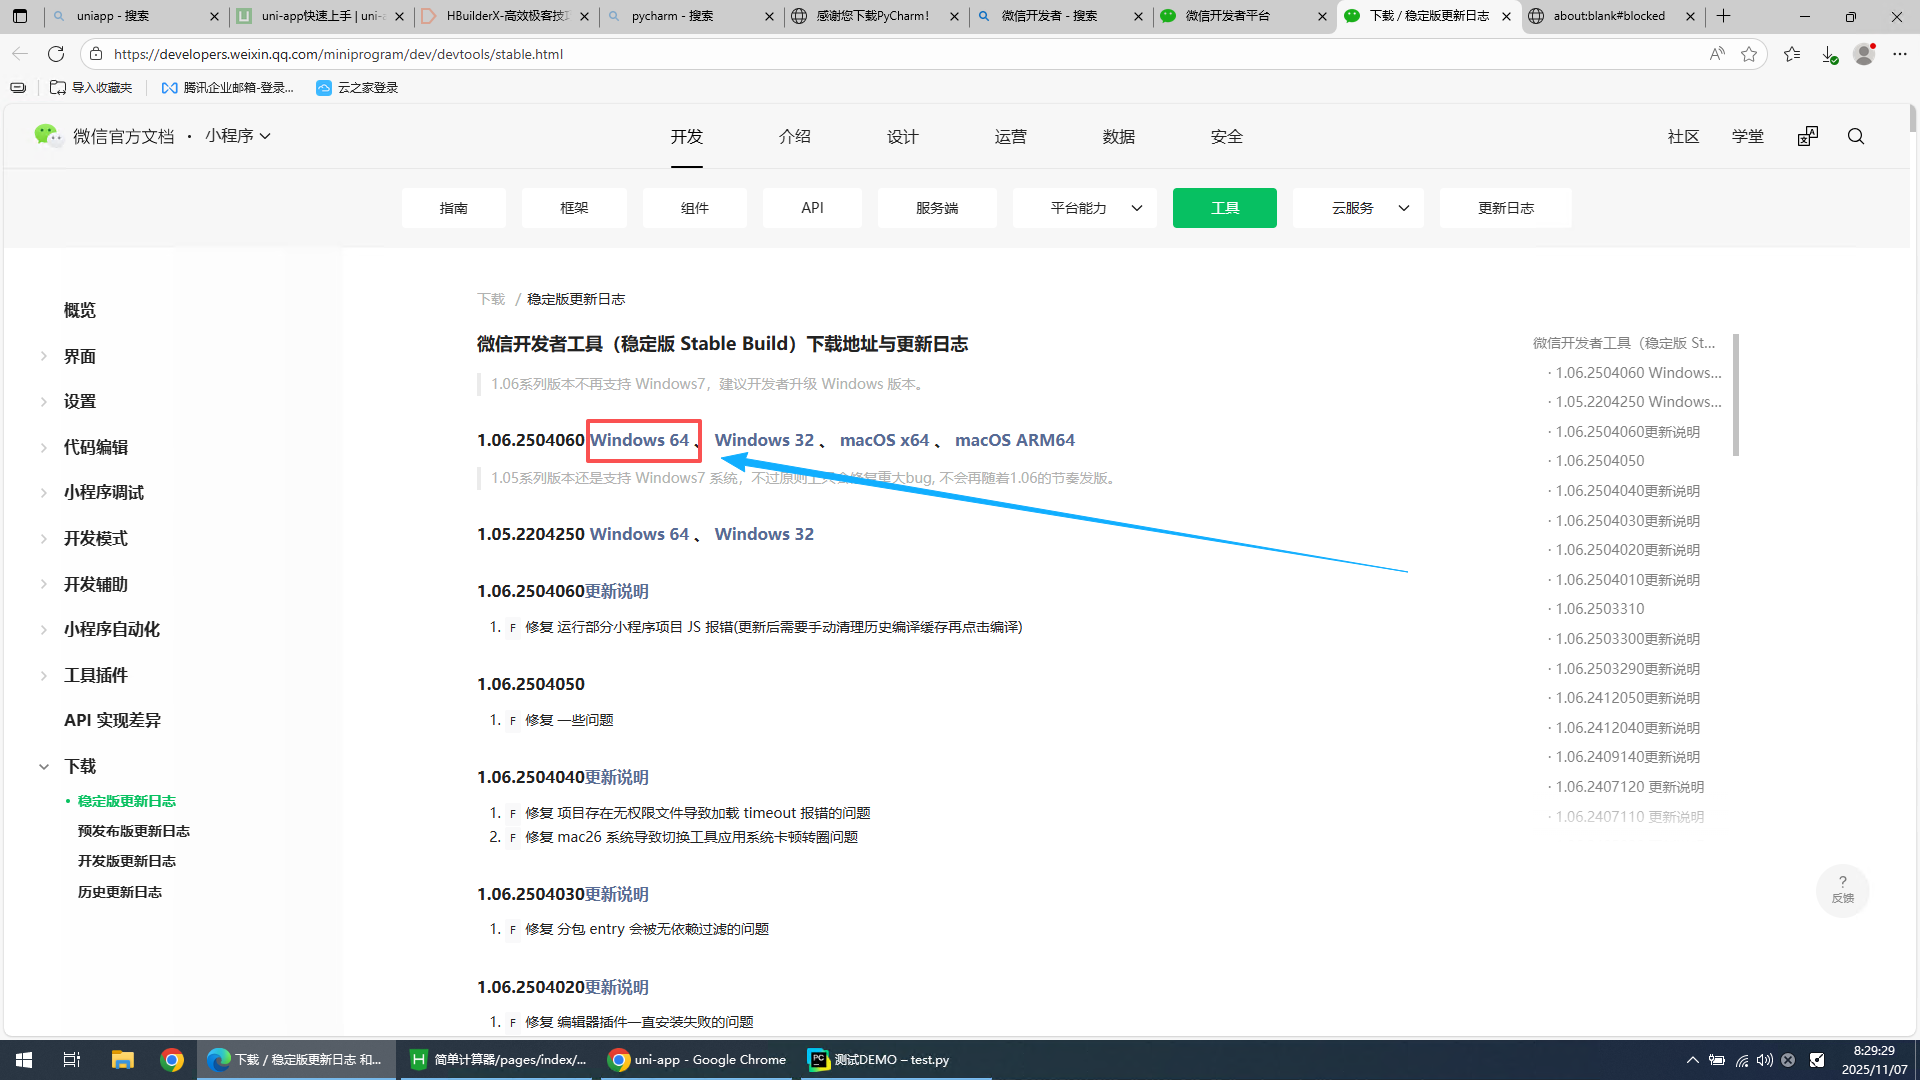
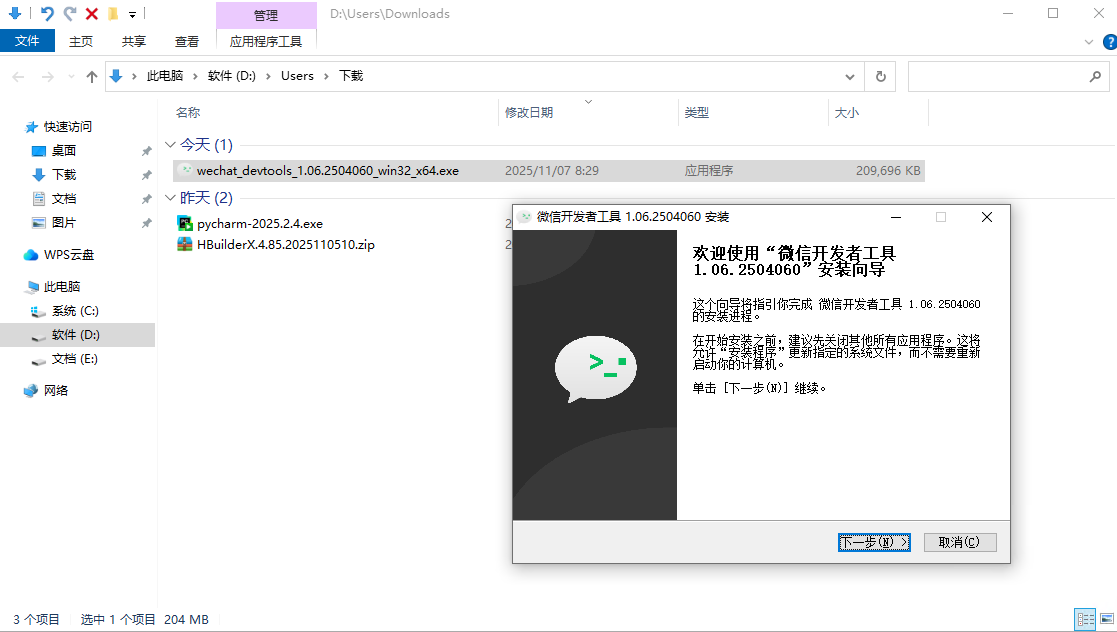
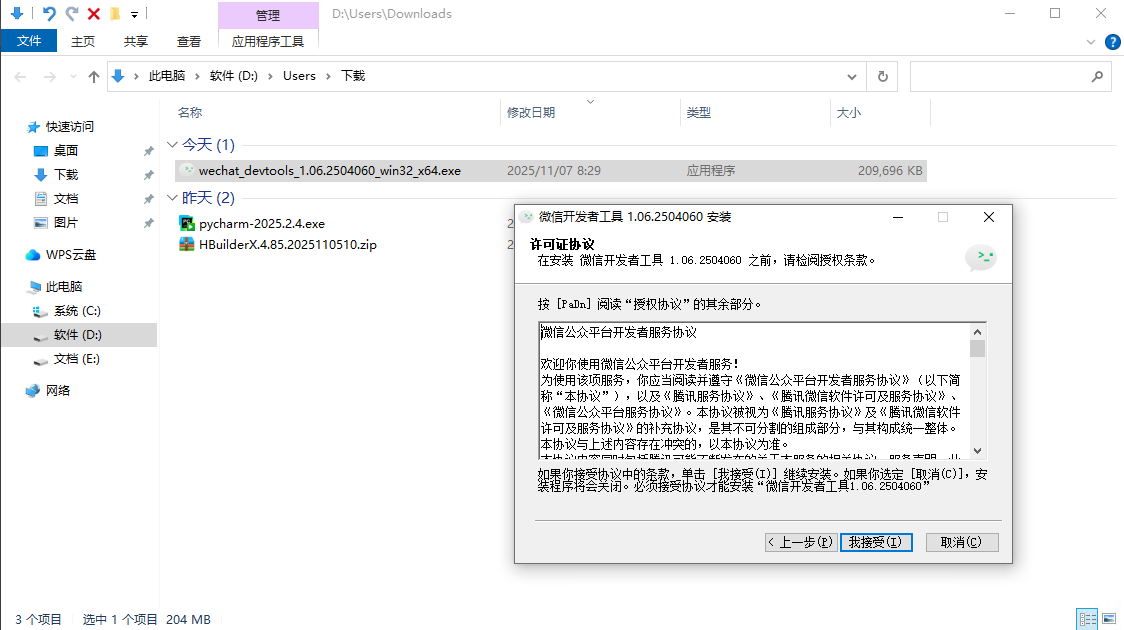
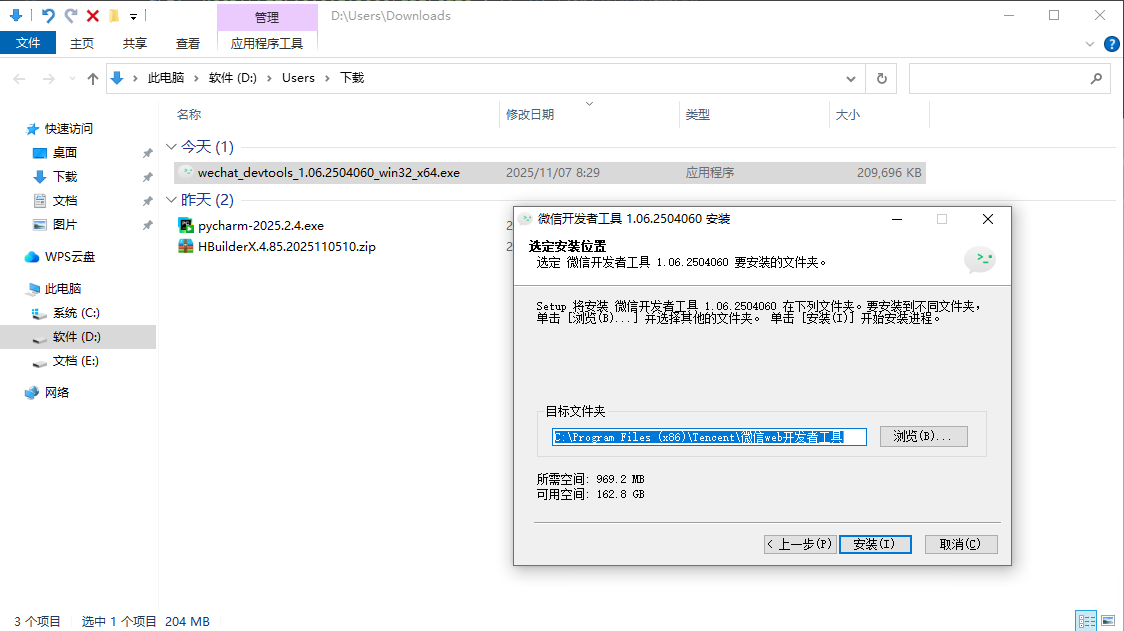
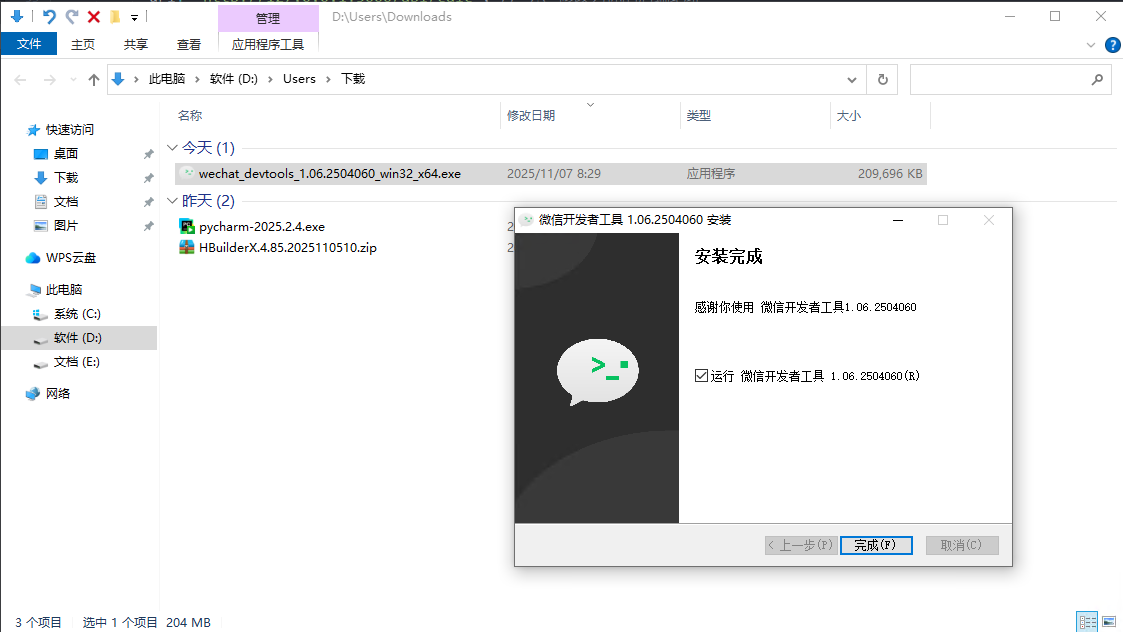
6、下载并安装微信开发工具
微信开发者工具:微信开发者工具
一路下一步,完成默认安装
扫码登录微信开发者工具

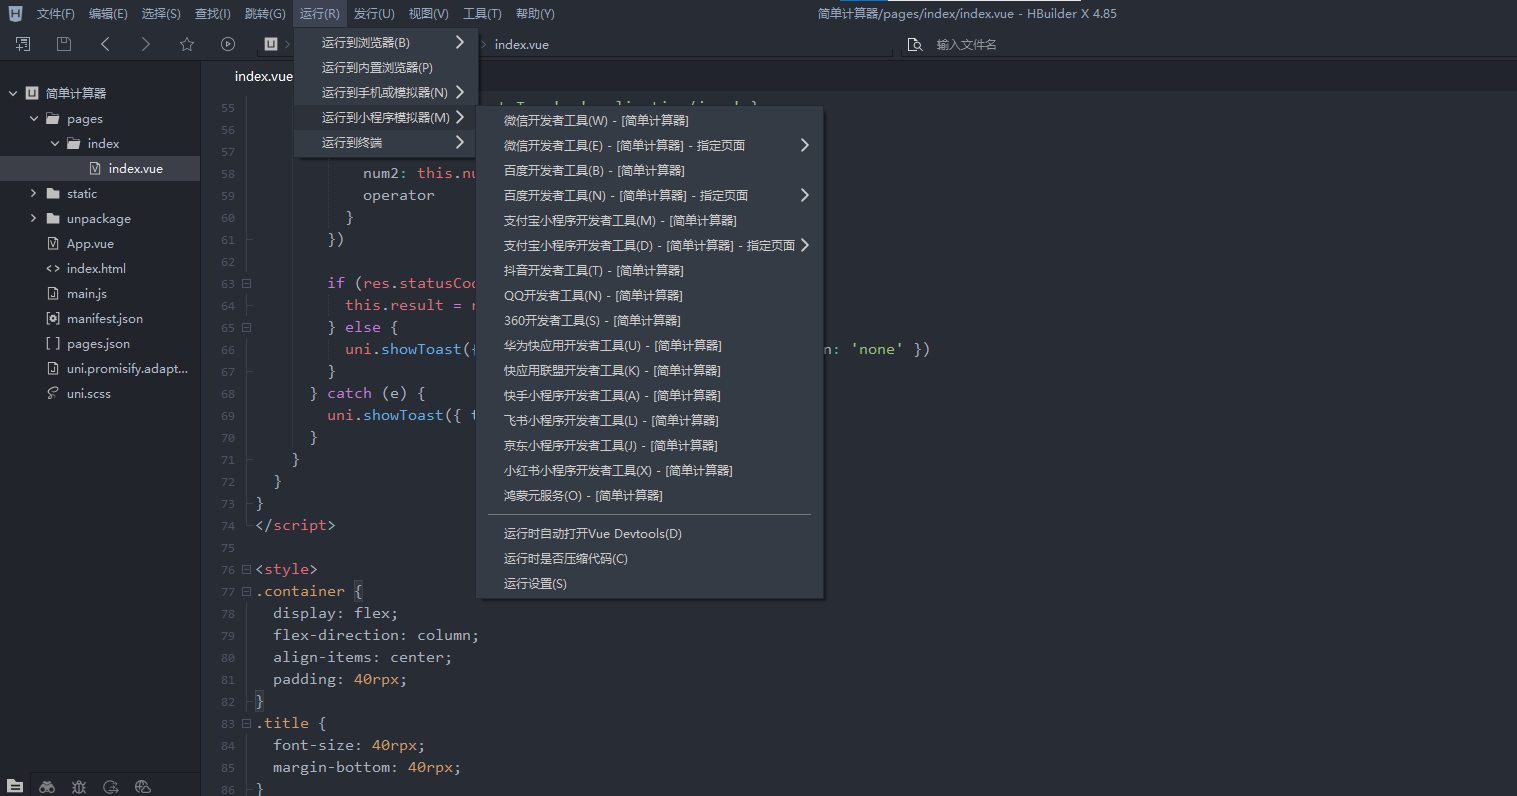
7、编译到微信小程序
选择运行 - 运行到小程序模拟器 - 微信开发者工具(W)
IDE会将代码编译为微信小程序代码,并自动调用微信开发者工具进行打开,首次打开请选择信任项目
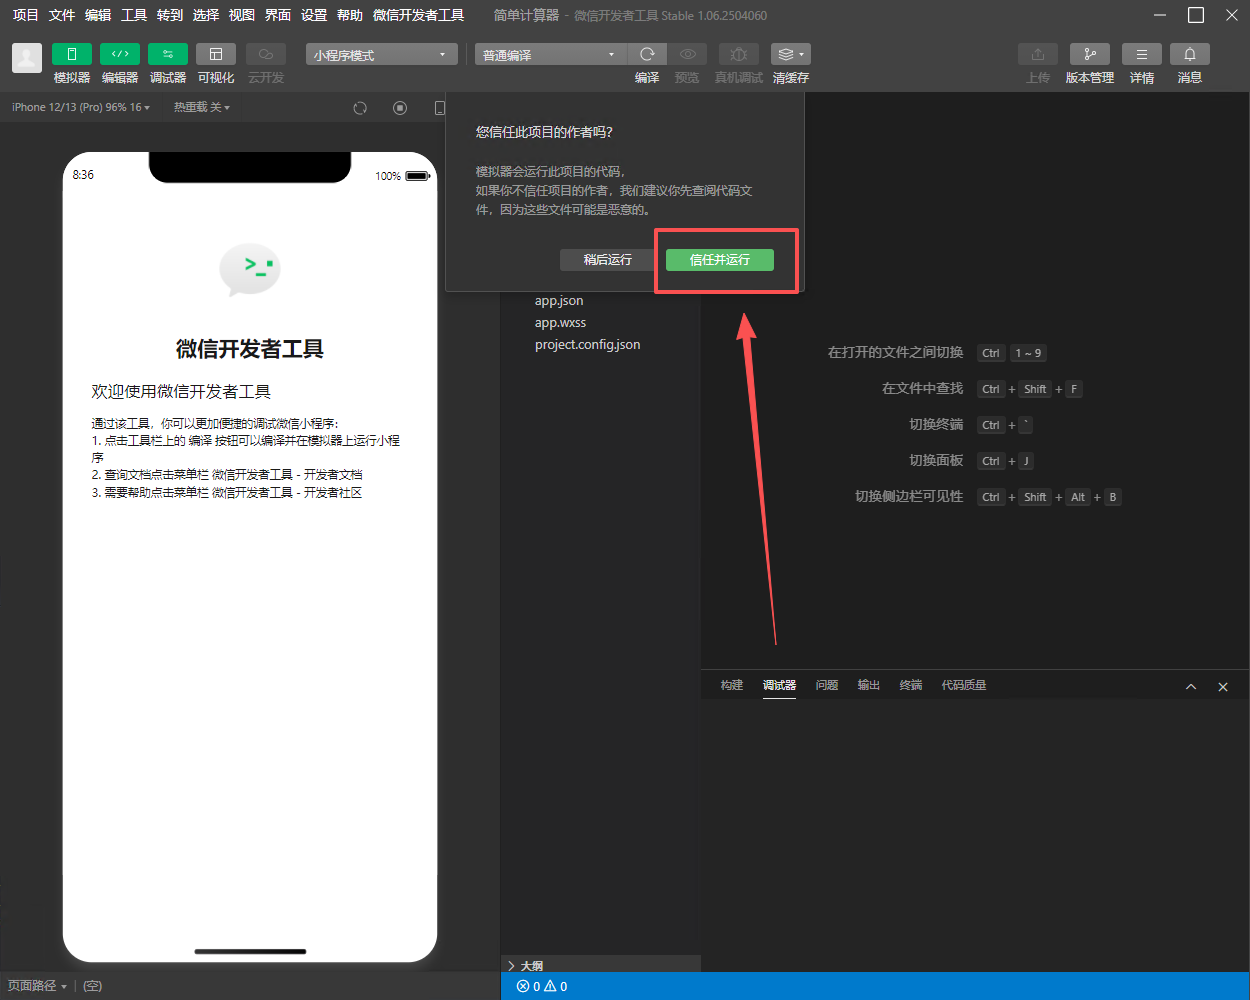
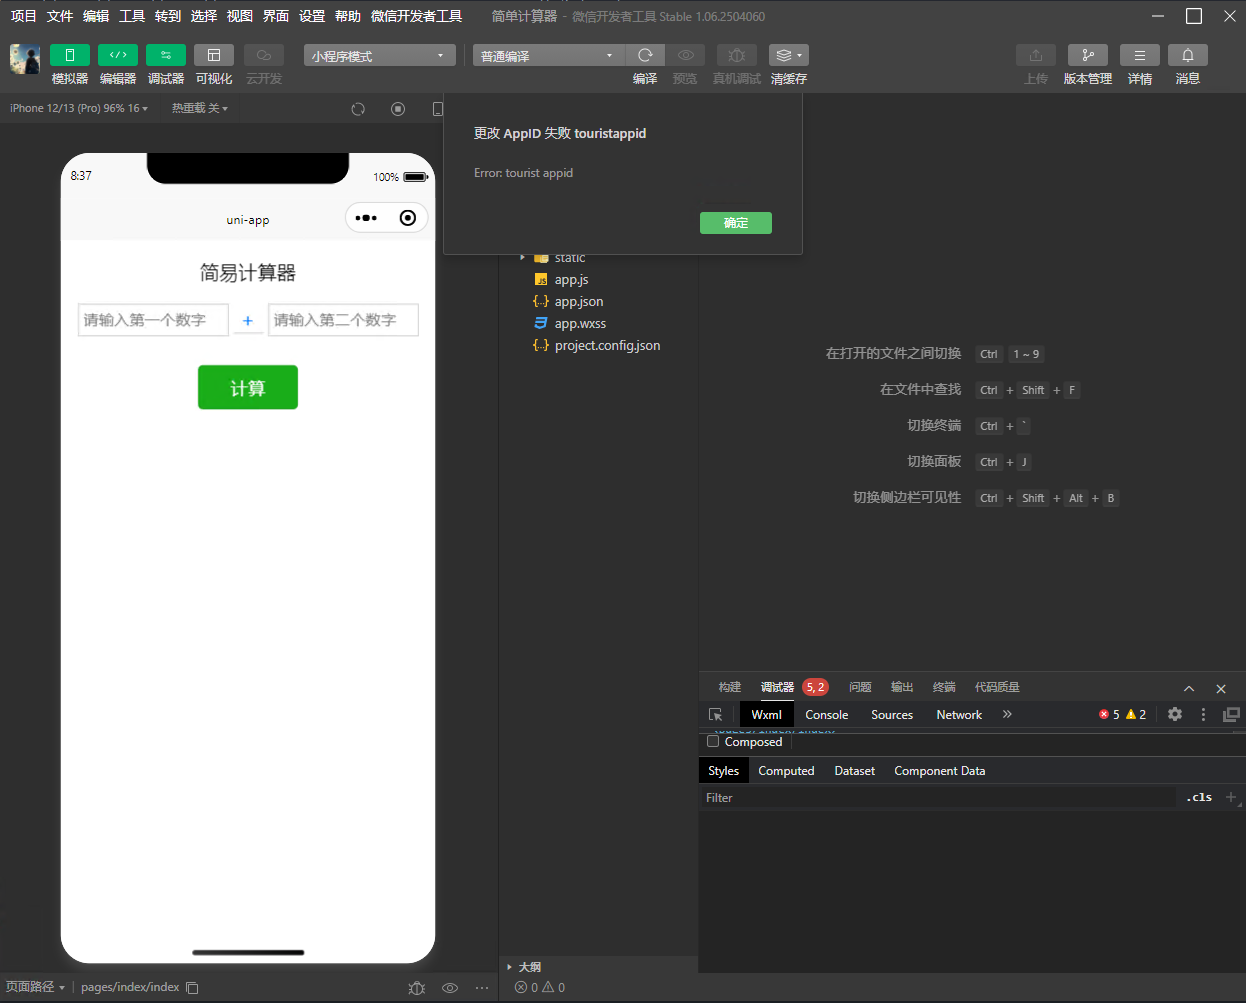
因为这是一个测试项目,没有配置appid,但是不影响调试,可以先忽略。
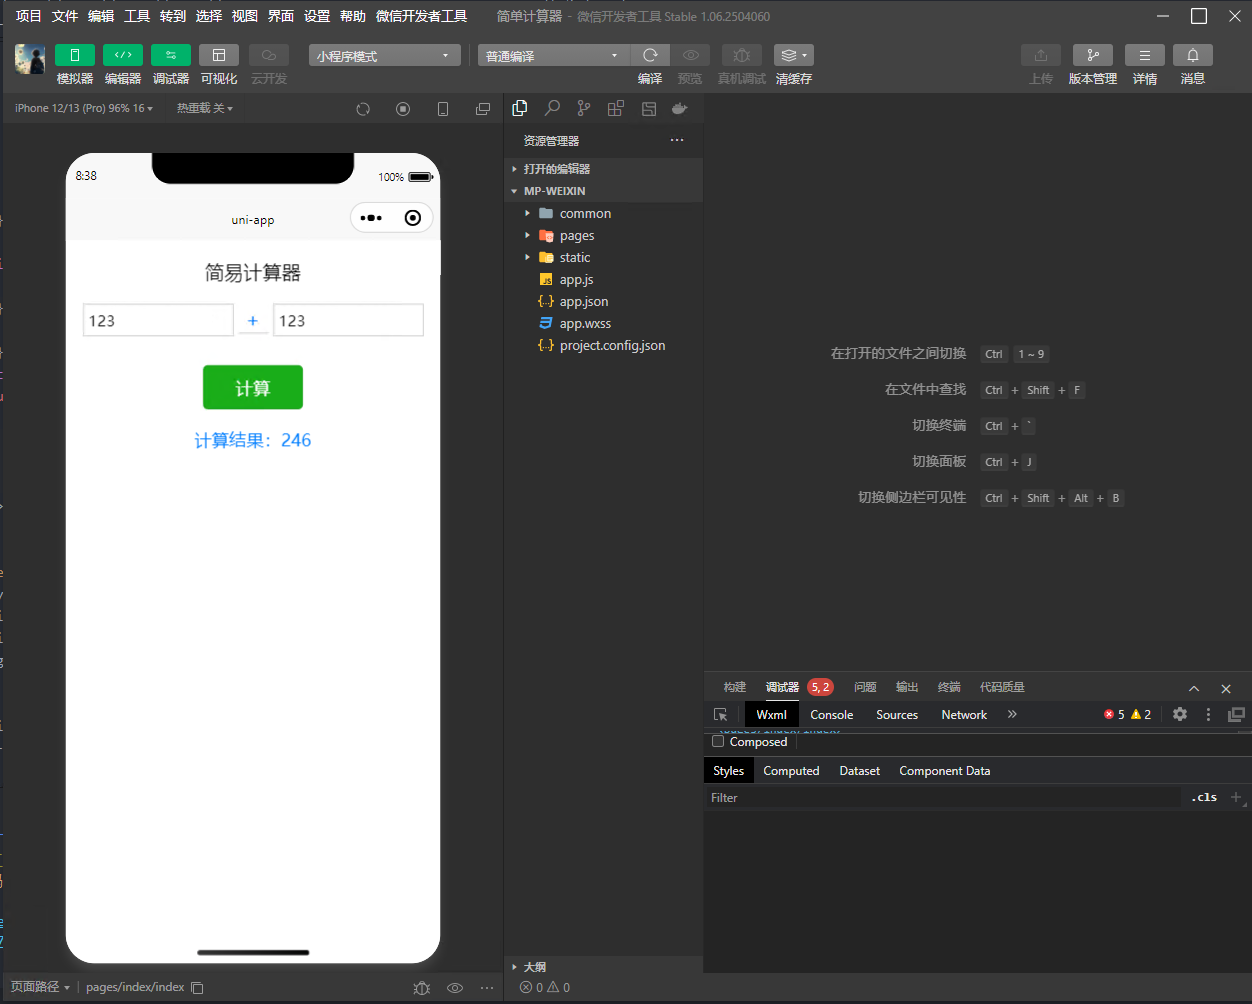
验证小程序页面功能
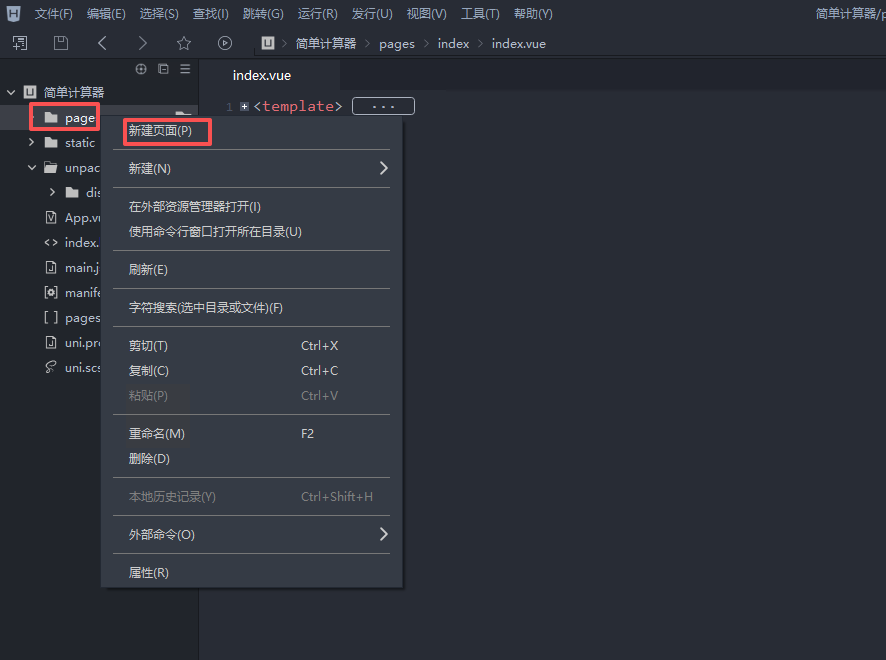
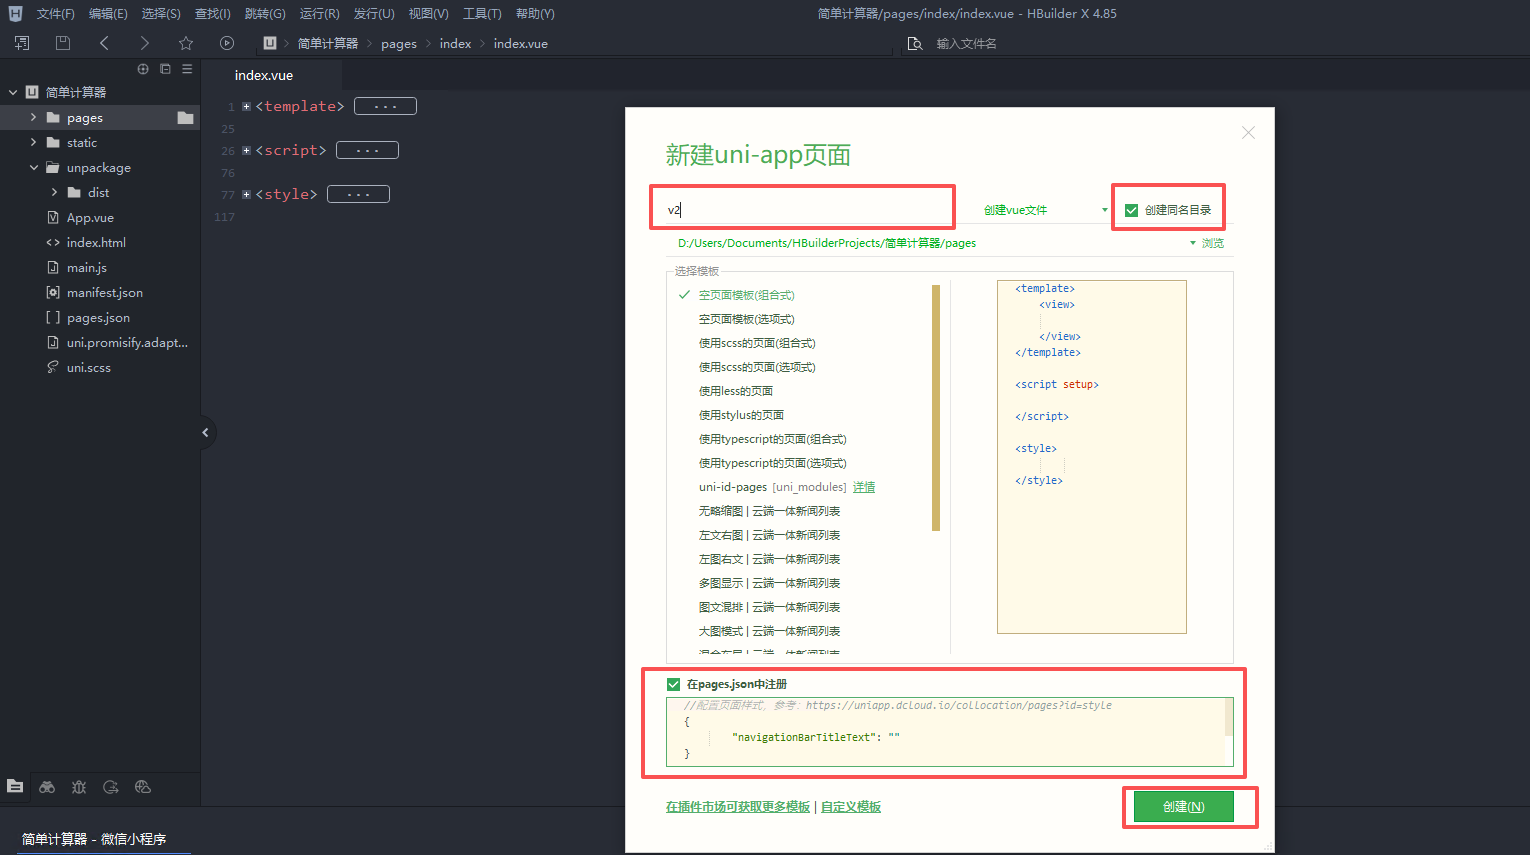
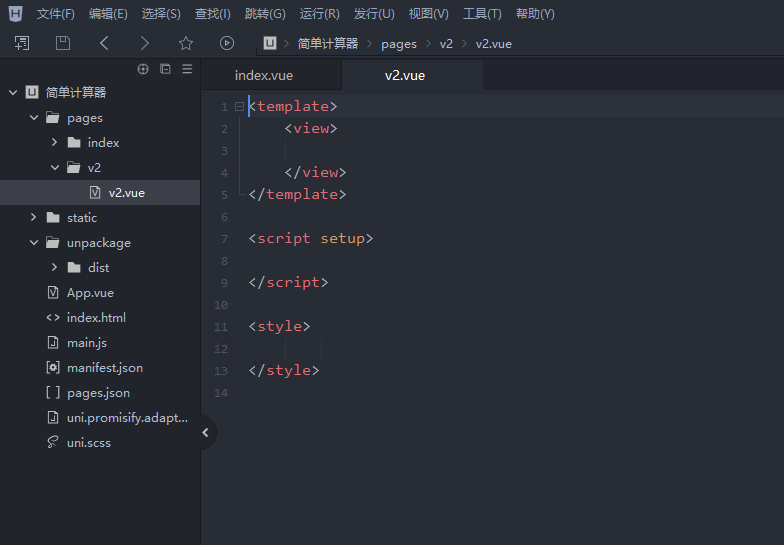
8、新增页面
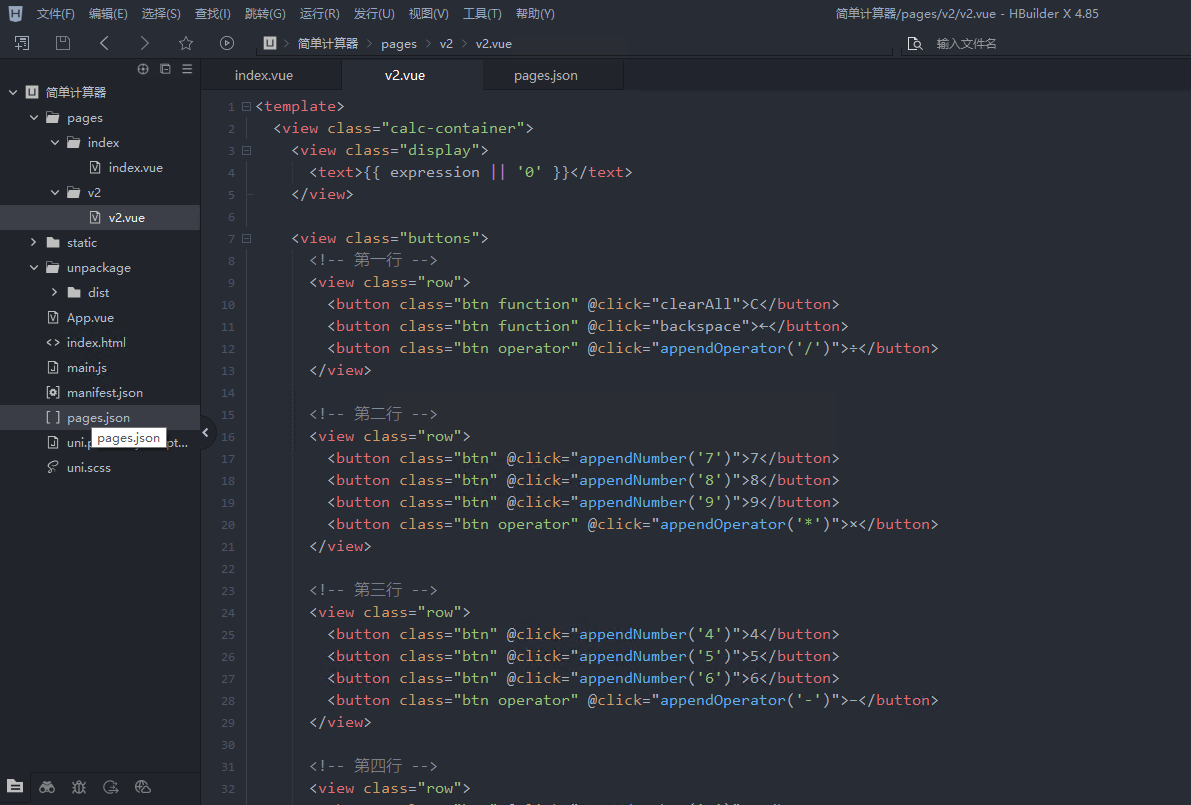
<template>
<view class="calc-container">
<view class="display">
<text>{{ expression || '0' }}</text>
</view>
<view class="buttons">
<!-- 第一行 -->
<view class="row">
<button class="btn function" @click="clearAll">C</button>
<button class="btn function" @click="backspace">←</button>
<button class="btn operator" @click="appendOperator('/')">÷</button>
</view>
<!-- 第二行 -->
<view class="row">
<button class="btn" @click="appendNumber('7')">7</button>
<button class="btn" @click="appendNumber('8')">8</button>
<button class="btn" @click="appendNumber('9')">9</button>
<button class="btn operator" @click="appendOperator('*')">×</button>
</view>
<!-- 第三行 -->
<view class="row">
<button class="btn" @click="appendNumber('4')">4</button>
<button class="btn" @click="appendNumber('5')">5</button>
<button class="btn" @click="appendNumber('6')">6</button>
<button class="btn operator" @click="appendOperator('-')">−</button>
</view>
<!-- 第四行 -->
<view class="row">
<button class="btn" @click="appendNumber('1')">1</button>
<button class="btn" @click="appendNumber('2')">2</button>
<button class="btn" @click="appendNumber('3')">3</button>
<button class="btn operator" @click="appendOperator('+')">+</button>
</view>
<!-- 第五行 -->
<view class="row">
<button class="btn zero" @click="appendNumber('0')">0</button>
<button class="btn" @click="appendNumber('.')">.</button>
<button class="btn equal" @click="calculate">=</button>
</view>
</view>
</view>
</template>
<script>
export default {
data() {
return {
expression: '', // 当前显示的表达式
}
},
methods: {
appendNumber(num) {
this.expression += num
},
appendOperator(op) {
// 避免连续输入多个运算符
if (this.expression === '' || /[+\-*/.]$/.test(this.expression)) return
this.expression += op
},
backspace() {
this.expression = this.expression.slice(0, -1)
},
clearAll() {
this.expression = ''
},
async calculate() {
try {
// 简单解析表达式:假设只支持 num1 op num2 格式
const match = this.expression.match(/^(\d+(\.\d+)?)([+\-*/])(\d+(\.\d+)?)$/)
if (!match) {
uni.showToast({ title: '格式错误', icon: 'none' })
return
}
const num1 = match[1]
const operator = match[3]
const num2 = match[4]
const res = await uni.request({
url: 'https://api.wink98.top/demo/api/calc', // 后端接口地址
method: 'POST',
header: { 'Content-Type': 'application/json' },
data: { num1, num2, operator }
})
if (res.statusCode === 200 && res.data.success) {
this.expression = String(res.data.result)
} else {
uni.showToast({ title: res.data.msg || '计算错误', icon: 'none' })
}
} catch (e) {
uni.showToast({ title: '网络错误', icon: 'none' })
}
}
}
}
</script>
<style>
.calc-container {
display: flex;
flex-direction: column;
align-items: center;
padding: 40rpx;
background-color: #111;
min-height: 100vh;
}
.display {
width: 100%;
background-color: #222;
color: #0f0;
font-size: 60rpx;
text-align: right;
padding: 30rpx 20rpx;
border-radius: 12rpx;
margin-bottom: 30rpx;
word-break: break-all;
}
.buttons {
width: 100%;
display: flex;
flex-direction: column;
}
.row {
display: flex;
justify-content: space-between;
margin-bottom: 20rpx;
}
.btn {
flex: 1;
margin: 0 10rpx;
height: 100rpx;
background-color: #333;
color: #fff;
font-size: 40rpx;
text-align: center;
line-height: 100rpx;
border-radius: 16rpx;
}
.btn:active {
background-color: #555;
}
.btn.operator {
background-color: #f7931e;
}
.btn.equal {
background-color: #2ecc71;
}
.btn.function {
background-color: #555;
}
.btn.zero {
flex: 2.1;
}
</style>
编辑默认index.vue页面,添加跳转到新页面的按钮
<template>
<view class="container">
<view class="title">简易计算器</view>
<view class="input-group">
<input type="number" v-model="num1" placeholder="请输入第一个数字" />
<!-- 运算符选择器 -->
<picker :range="operators" @change="onOperatorChange">
<view class="picker">
{{ operators[operatorIndex] }}
</view>
</picker>
<input type="number" v-model="num2" placeholder="请输入第二个数字" />
</view>
<button type="primary" @click="calculate">计算</button>
<view v-if="result !== null" class="result">
计算结果:{{ result }}
</view>
<!-- 右下角跳转按钮 -->
<view class="switch-btn" @click="goToV2">
切换到 V2 →
</view>
</view>
</template>
<script>
export default {
data() {
return {
num1: '',
num2: '',
operatorIndex: 0,
operators: ['+', '-', '*', '/'],
result: null
}
},
methods: {
onOperatorChange(e) {
this.operatorIndex = e.detail.value
},
async calculate() {
if (this.num1 === '' || this.num2 === '') {
uni.showToast({ title: '请输入完整数据', icon: 'none' })
return
}
const operator = this.operators[this.operatorIndex]
try {
const res = await uni.request({
url: 'https://api.wink98.top/demo/api/calc', // ⚠️ 修改为你的后端地址
method: 'POST',
header: { 'Content-Type': 'application/json' },
data: {
num1: this.num1,
num2: this.num2,
operator
}
})
if (res.statusCode === 200 && res.data.success) {
this.result = res.data.result
} else {
uni.showToast({ title: res.data.msg || '计算错误', icon: 'none' })
}
} catch (e) {
uni.showToast({ title: '网络错误', icon: 'none' })
}
},
// 跳转到 V2 页面
goToV2() {
uni.navigateTo({
url: '/pages/v2/v2'
})
}
}
}
</script>
<style>
.container {
display: flex;
flex-direction: column;
align-items: center;
padding: 40rpx;
position: relative;
min-height: 100vh;
box-sizing: border-box;
}
.title {
font-size: 40rpx;
margin-bottom: 40rpx;
}
.input-group {
display: flex;
flex-direction: row;
align-items: center;
margin-bottom: 40rpx;
}
.input-group input {
width: 280rpx;
border: 1px solid #ccc;
padding: 10rpx;
margin: 0 10rpx;
}
.picker {
width: 60rpx;
text-align: center;
font-size: 40rpx;
color: #007aff;
border-bottom: 1px solid #ccc;
}
button {
width: 200rpx;
margin-top: 20rpx;
}
.result {
margin-top: 40rpx;
font-size: 36rpx;
color: #007aff;
}
/* ✅ 右下角跳转按钮样式 */
.switch-btn {
position: absolute;
bottom: 40rpx;
right: 40rpx;
background-color: #007aff;
color: white;
padding: 16rpx 24rpx;
border-radius: 12rpx;
font-size: 28rpx;
box-shadow: 0 4rpx 8rpx rgba(0, 0, 0, 0.2);
}
.switch-btn:active {
background-color: #005ecb;
}
</style>
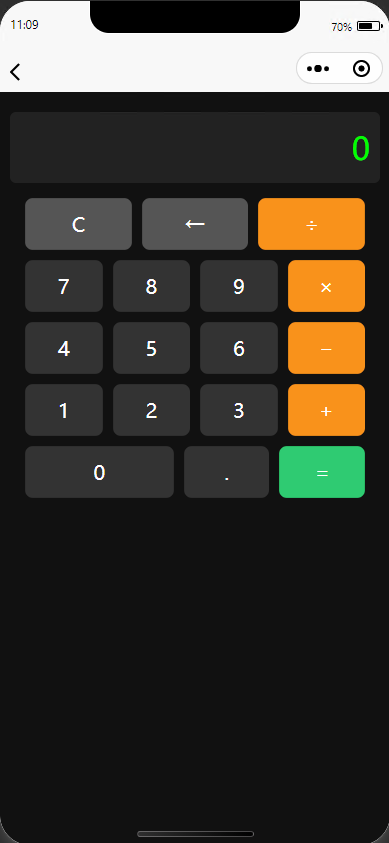
最终新页面呈现效果